
.png.7b5607b4d83b4bbbaebe3f8317b847f5.png)
Bowlsnapper
-
Posts
4,830 -
Joined
-
Last visited
-
Days Won
147
Posts posted by Bowlsnapper
-
-
On 2/12/2023 at 5:06 PM, MadMartigan said:
I finally got around to installing one of the LED kits that I've had lying around forever. Not sure why the colors are so off, but it actually looks cooler in the pics lol. It's swappable between blue and green or both at once. I was amazed that I actually glows through the silver jewel. Didn't feel the need for controller ports since it's already pretty bright.

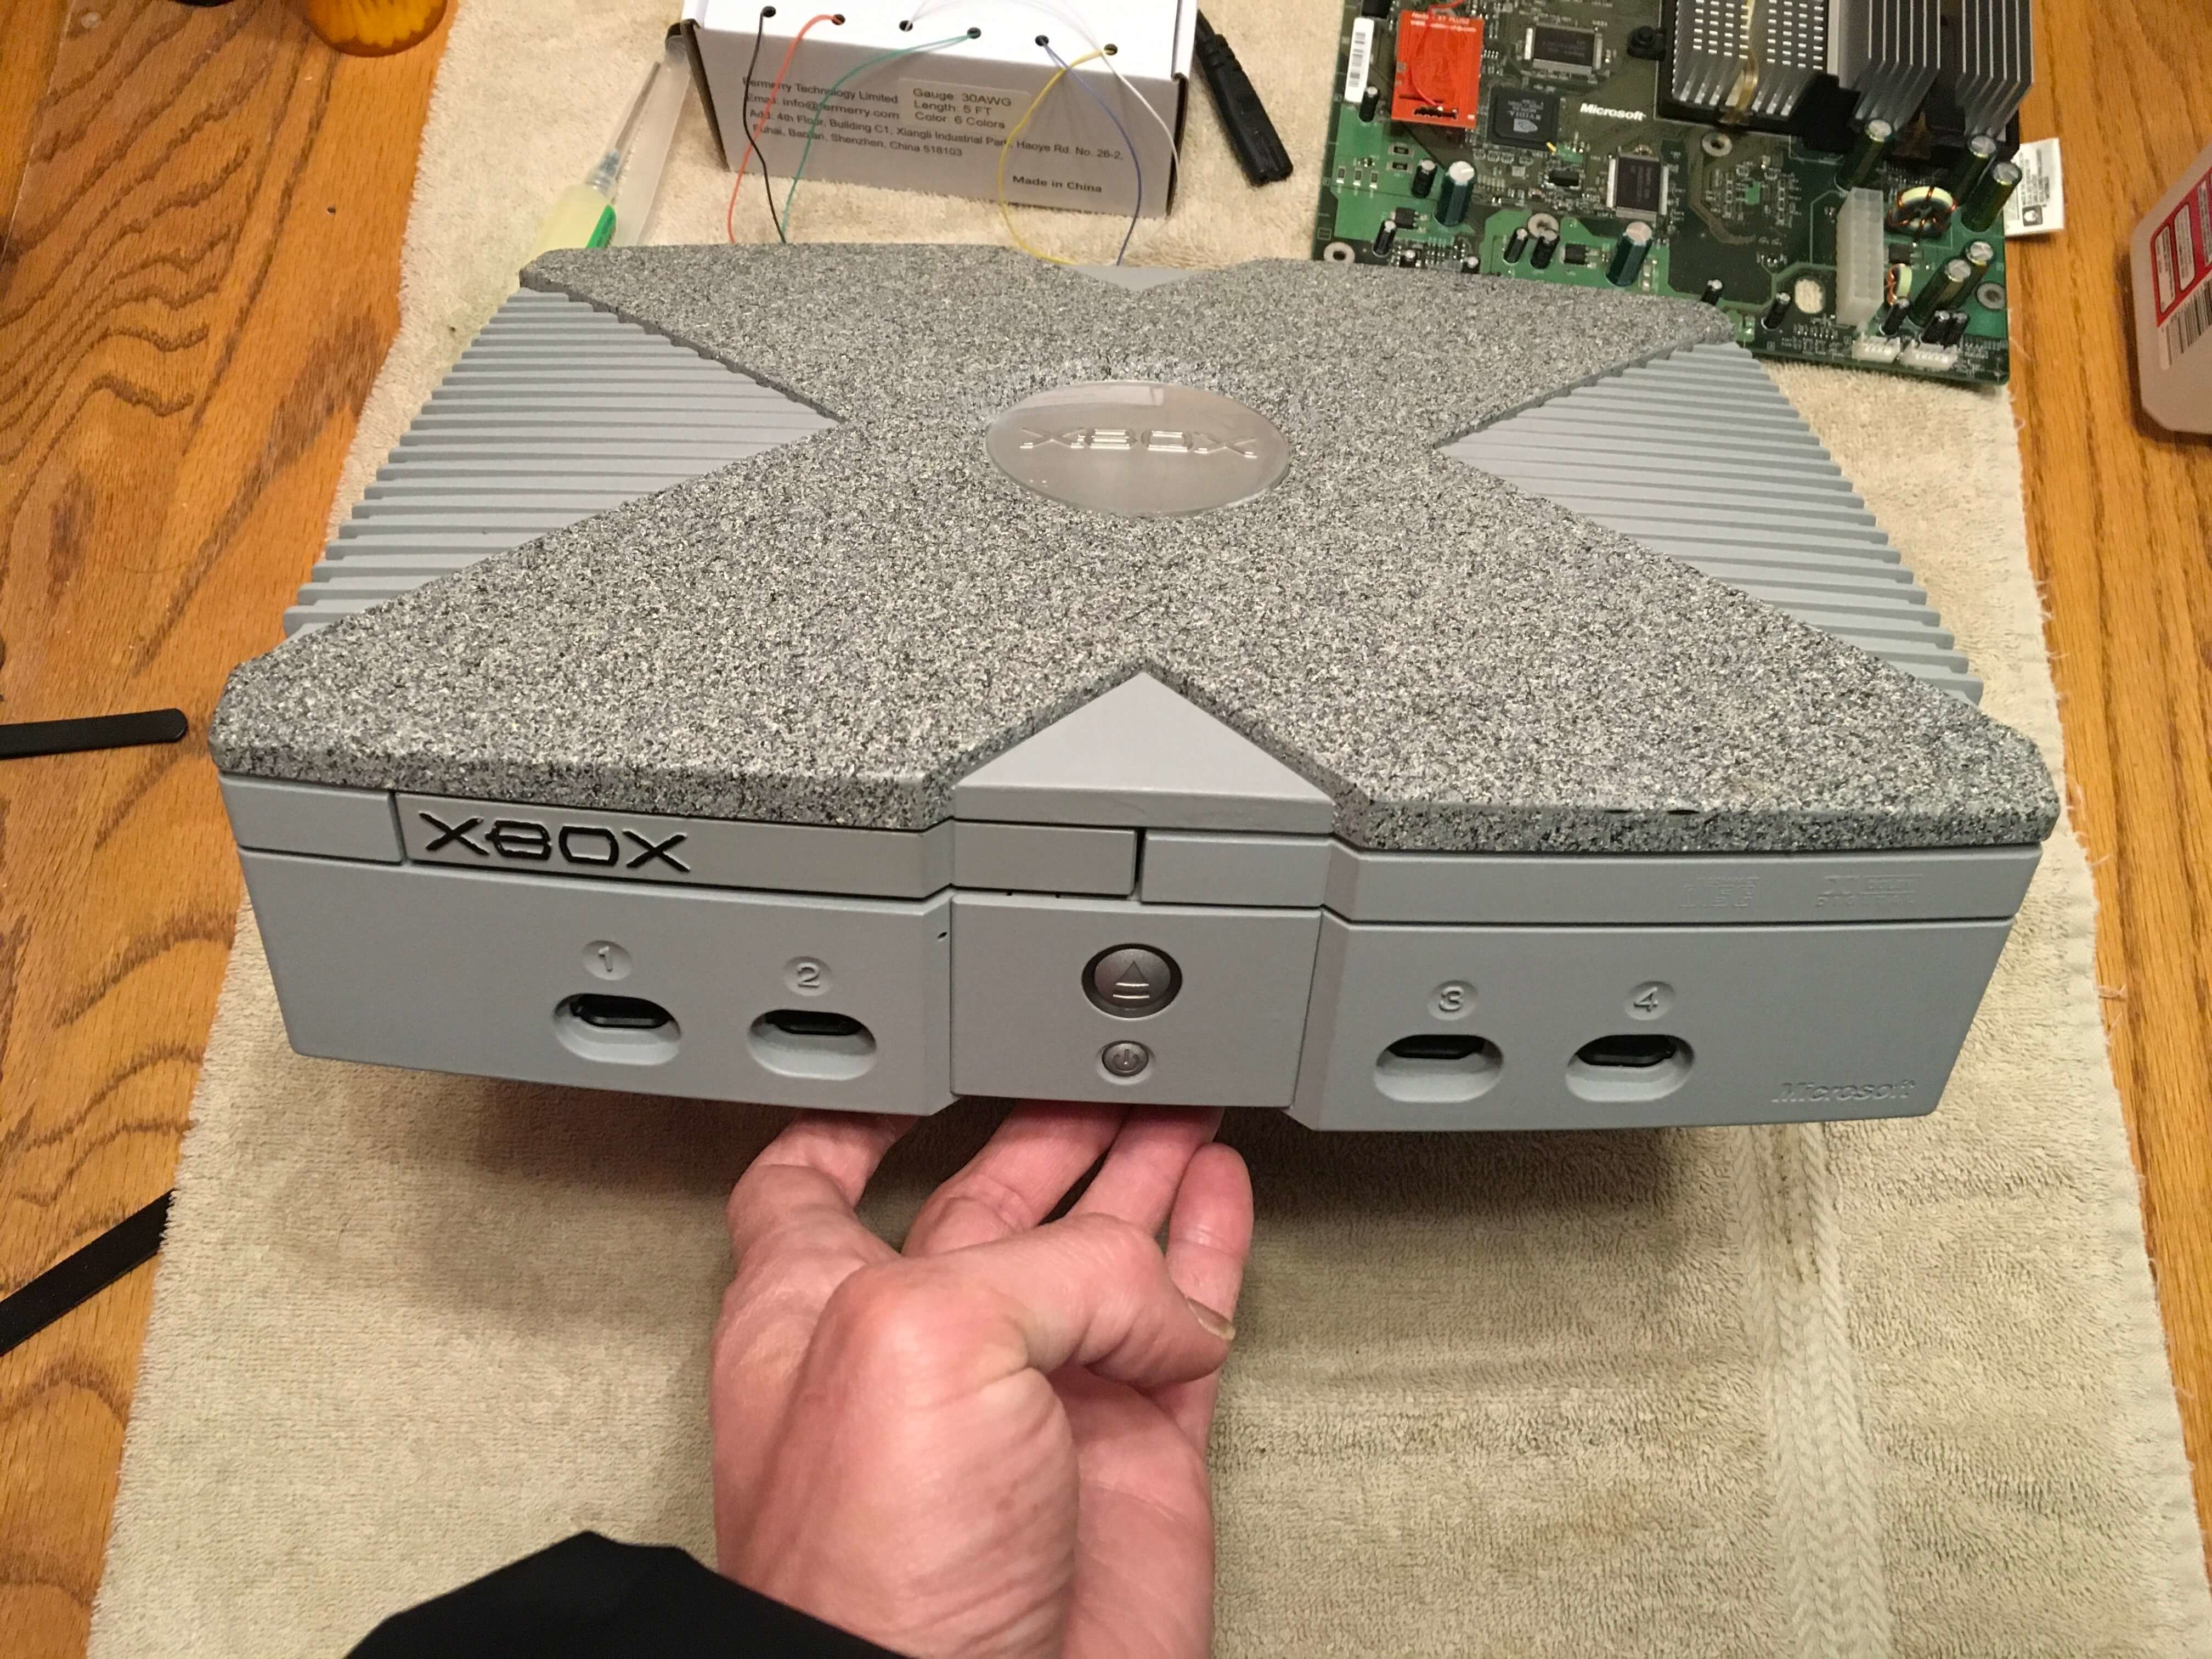
I wanna put this on a granite counter.
-
3 hours ago, Persian_Mclovin said:
Hi all, wondering if I can get a solution to what I hope for someone reading is a very simple problem!
I have received a new console that came with Stellar and a 1TB HDD. It came pre-loaded with emulators etc. The problem is that the only extended F drive (no G) is meant to have around 924GB of free space but it appears to be missing around 400GB. I have gone into various dashboards and when calculating the space used in F it equals around 500GB. Everything works and I have transferred some other games over etc but there's 100% a lot of space missing.
I've also looked at the drive in XBpartitioner 1.3 and it shows 1 extended partition with 924.06 free so I really don't understand.
Thanks in advance.
Did you ask in their discord?
-
54 minutes ago, ConsoleTechUS said:
Why is the clock so important? Am I hurting my xboxs by just leaving them with removed clock caps?
This is a cool project so id like to understand more
Nah it's not hurting anything. It can get annoying to lose the date and time every time you disconnect AC though, especially if you travel a lot with it or you change setups often or whatever else. I'm always moving them around so I benefit from it.
-
You're a rockstar, buddy. Nice work. You have done a GREAT job of bringing the X3 back into the mainstream, while also promoting Kekule's work.
-
 3
3
-
 1
1
-
-
42 minutes ago, fox said:
number 5's eyes glow red like when he's angry? I actually lmao'd
so...this mod keeps your xbox clock running for years unplugged? crazy if true and well worth the money I think, playstations do this with a 2032 and I always wondered if it'd be possible for xbox
MS did it kinda weirdly and in a way that required lots of current to do it. This way uses code and 3rd party hardware as opposed to the MS method.
-
6 hours ago, PRince404 said:
Does this bypass the Clock Cap on 1.6?
It does. And in fact it can supplement an already present clock cap by bypassing the discharge time of a few hours and not even using the MCPX to keep the time anymore. Software is an AMAZING tool and I am envious of team resurgent for having the ability to make such things possible.
-
1
-
-
-
The github has the latest release of PrometheOS/ModXO bundled firmware for small chip characteristics that needed to be individually coded for. It is available if needed, and adds full BSX-RTC compatibility.
https://github.com/Bowlsnapper/PrometheOS-BSX
-
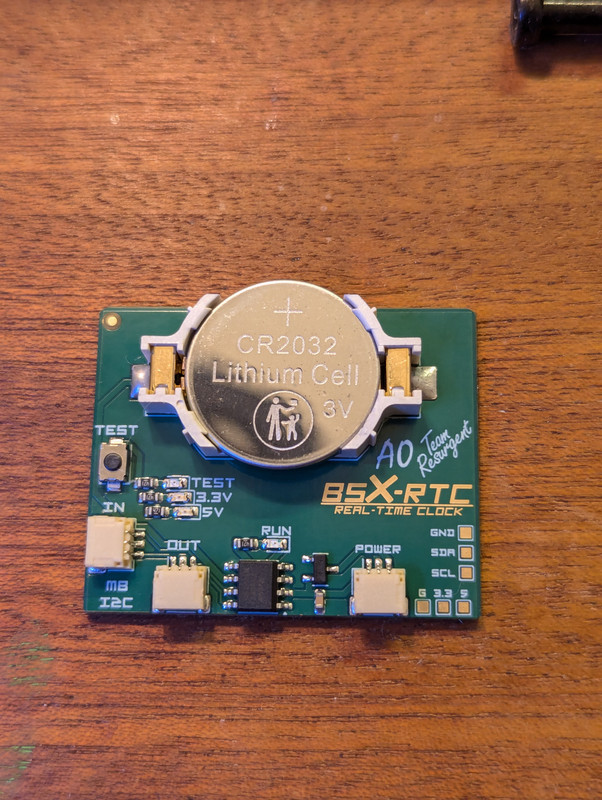
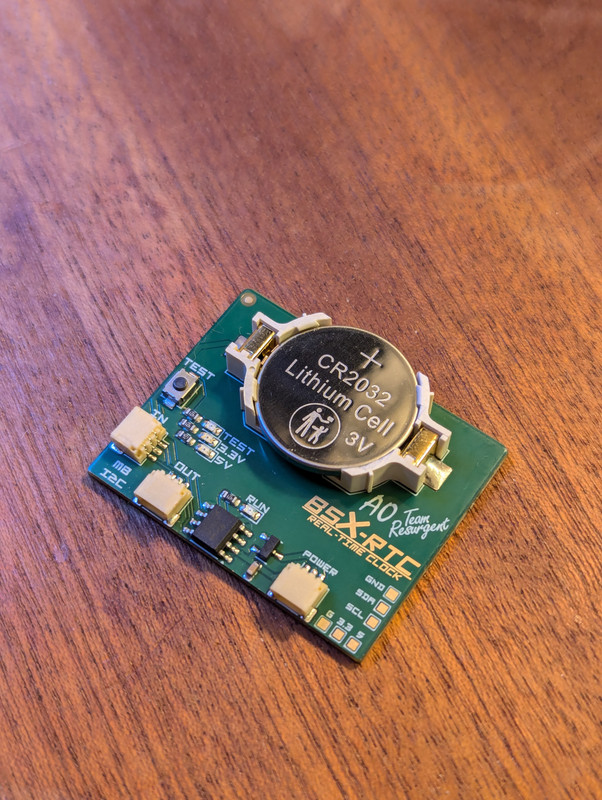
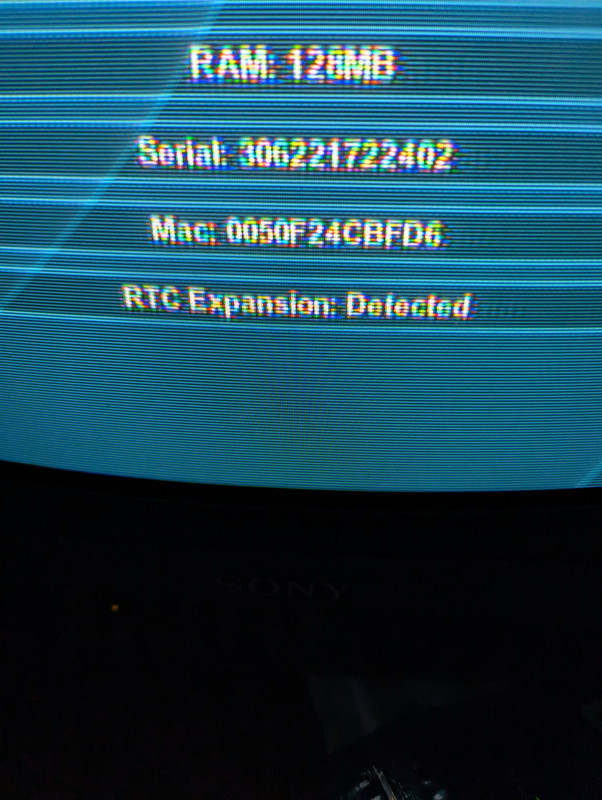
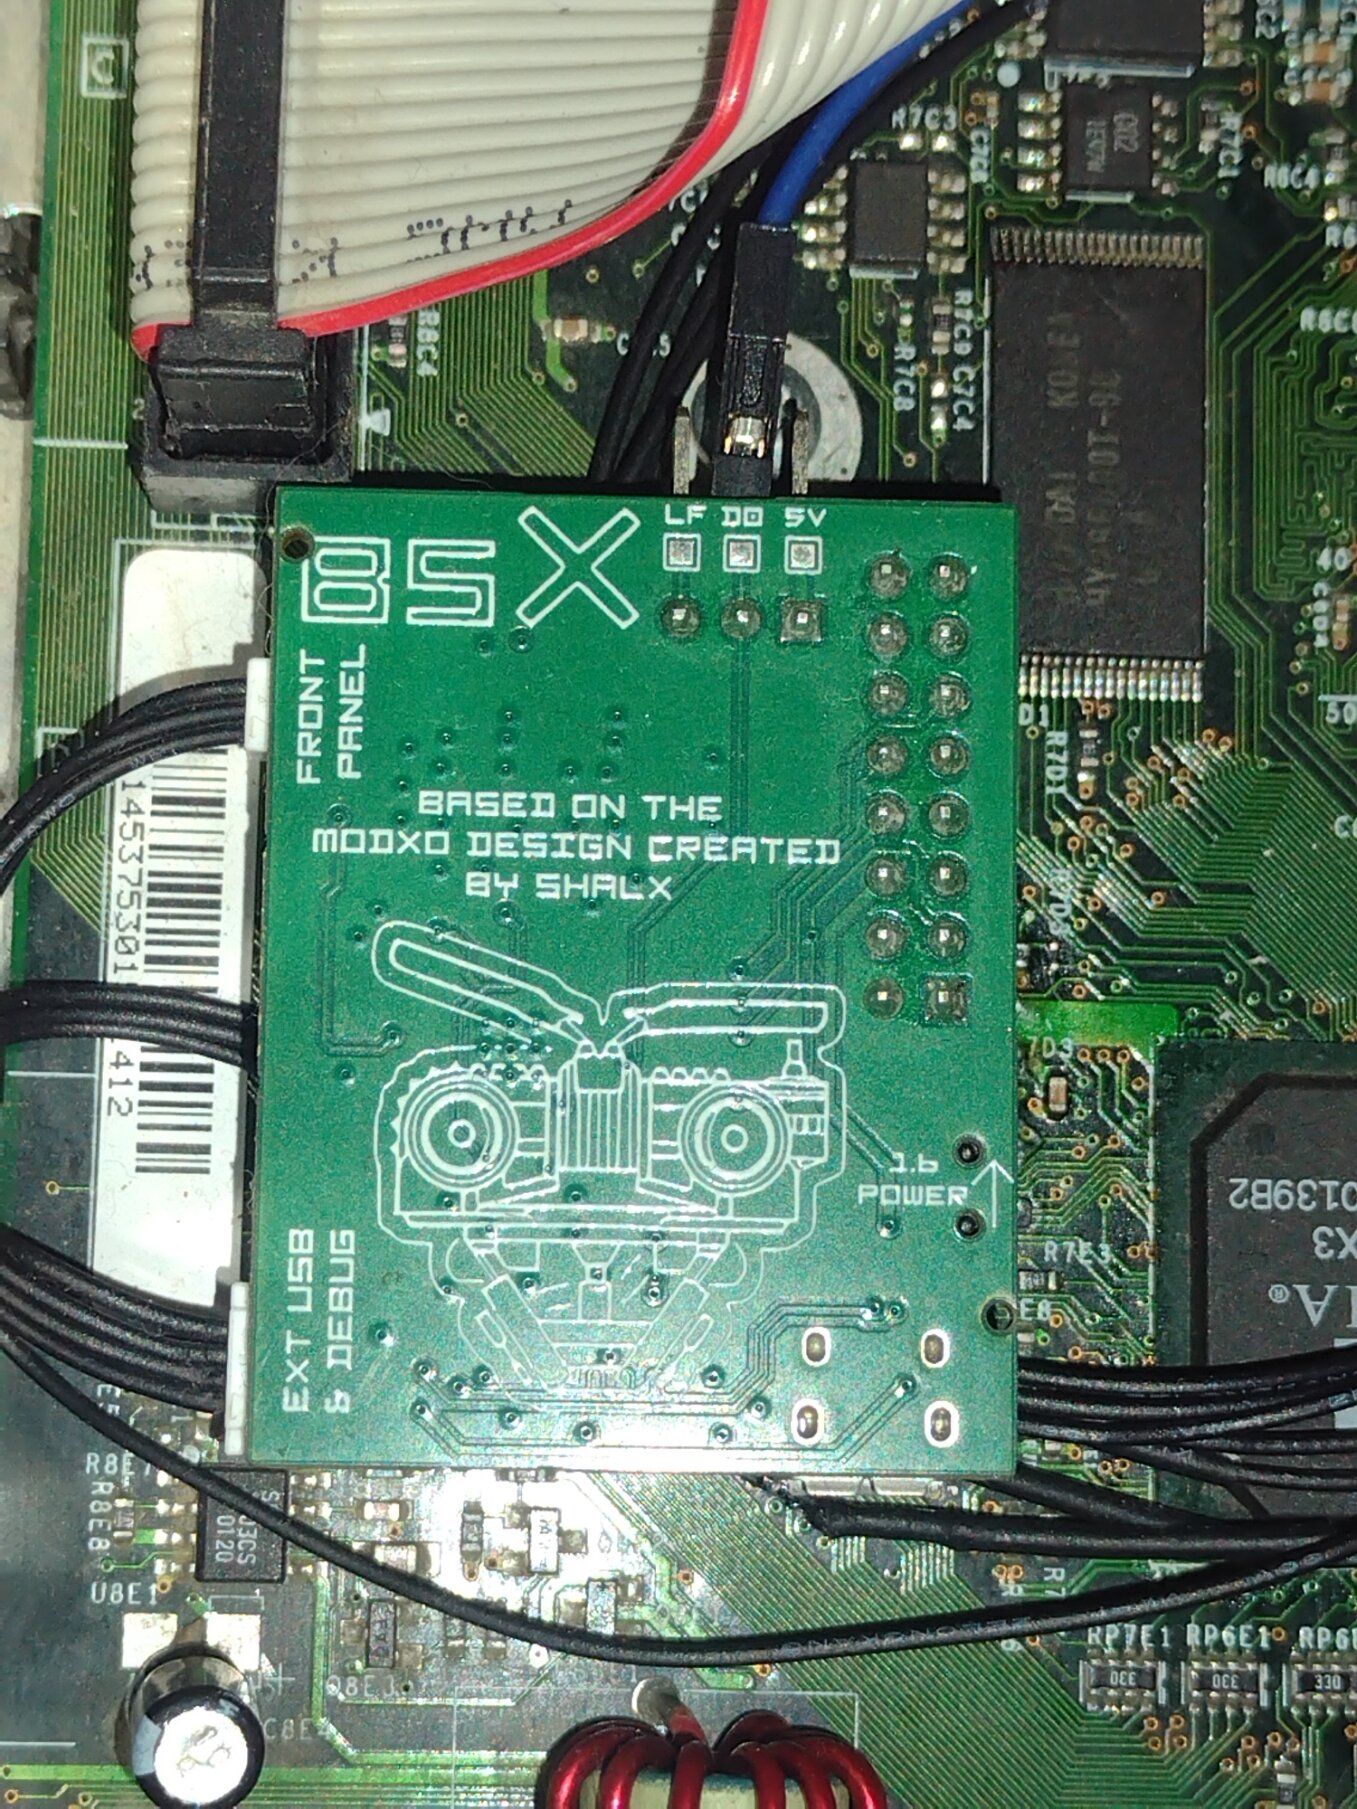
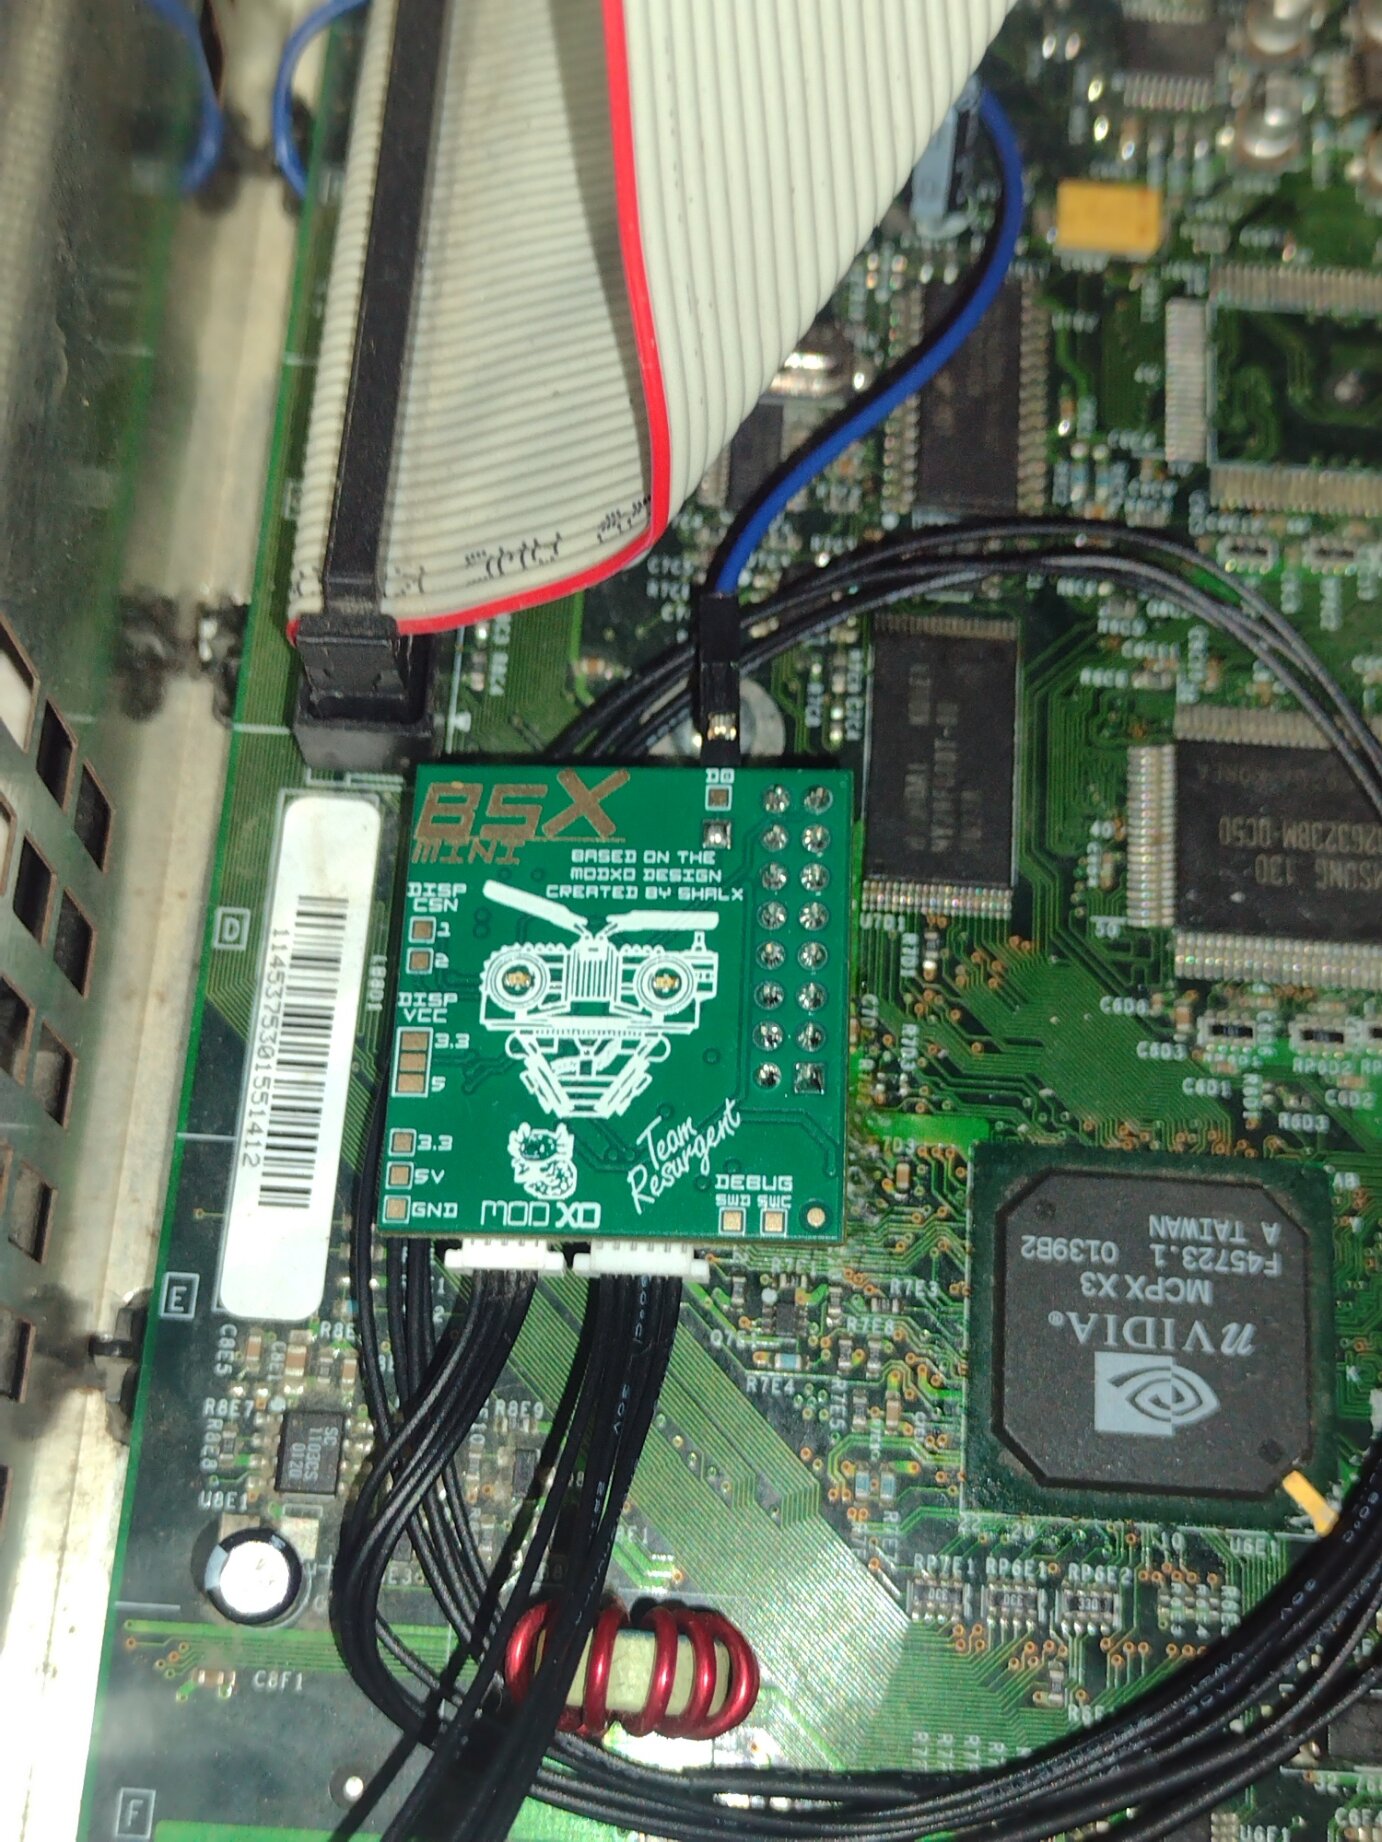
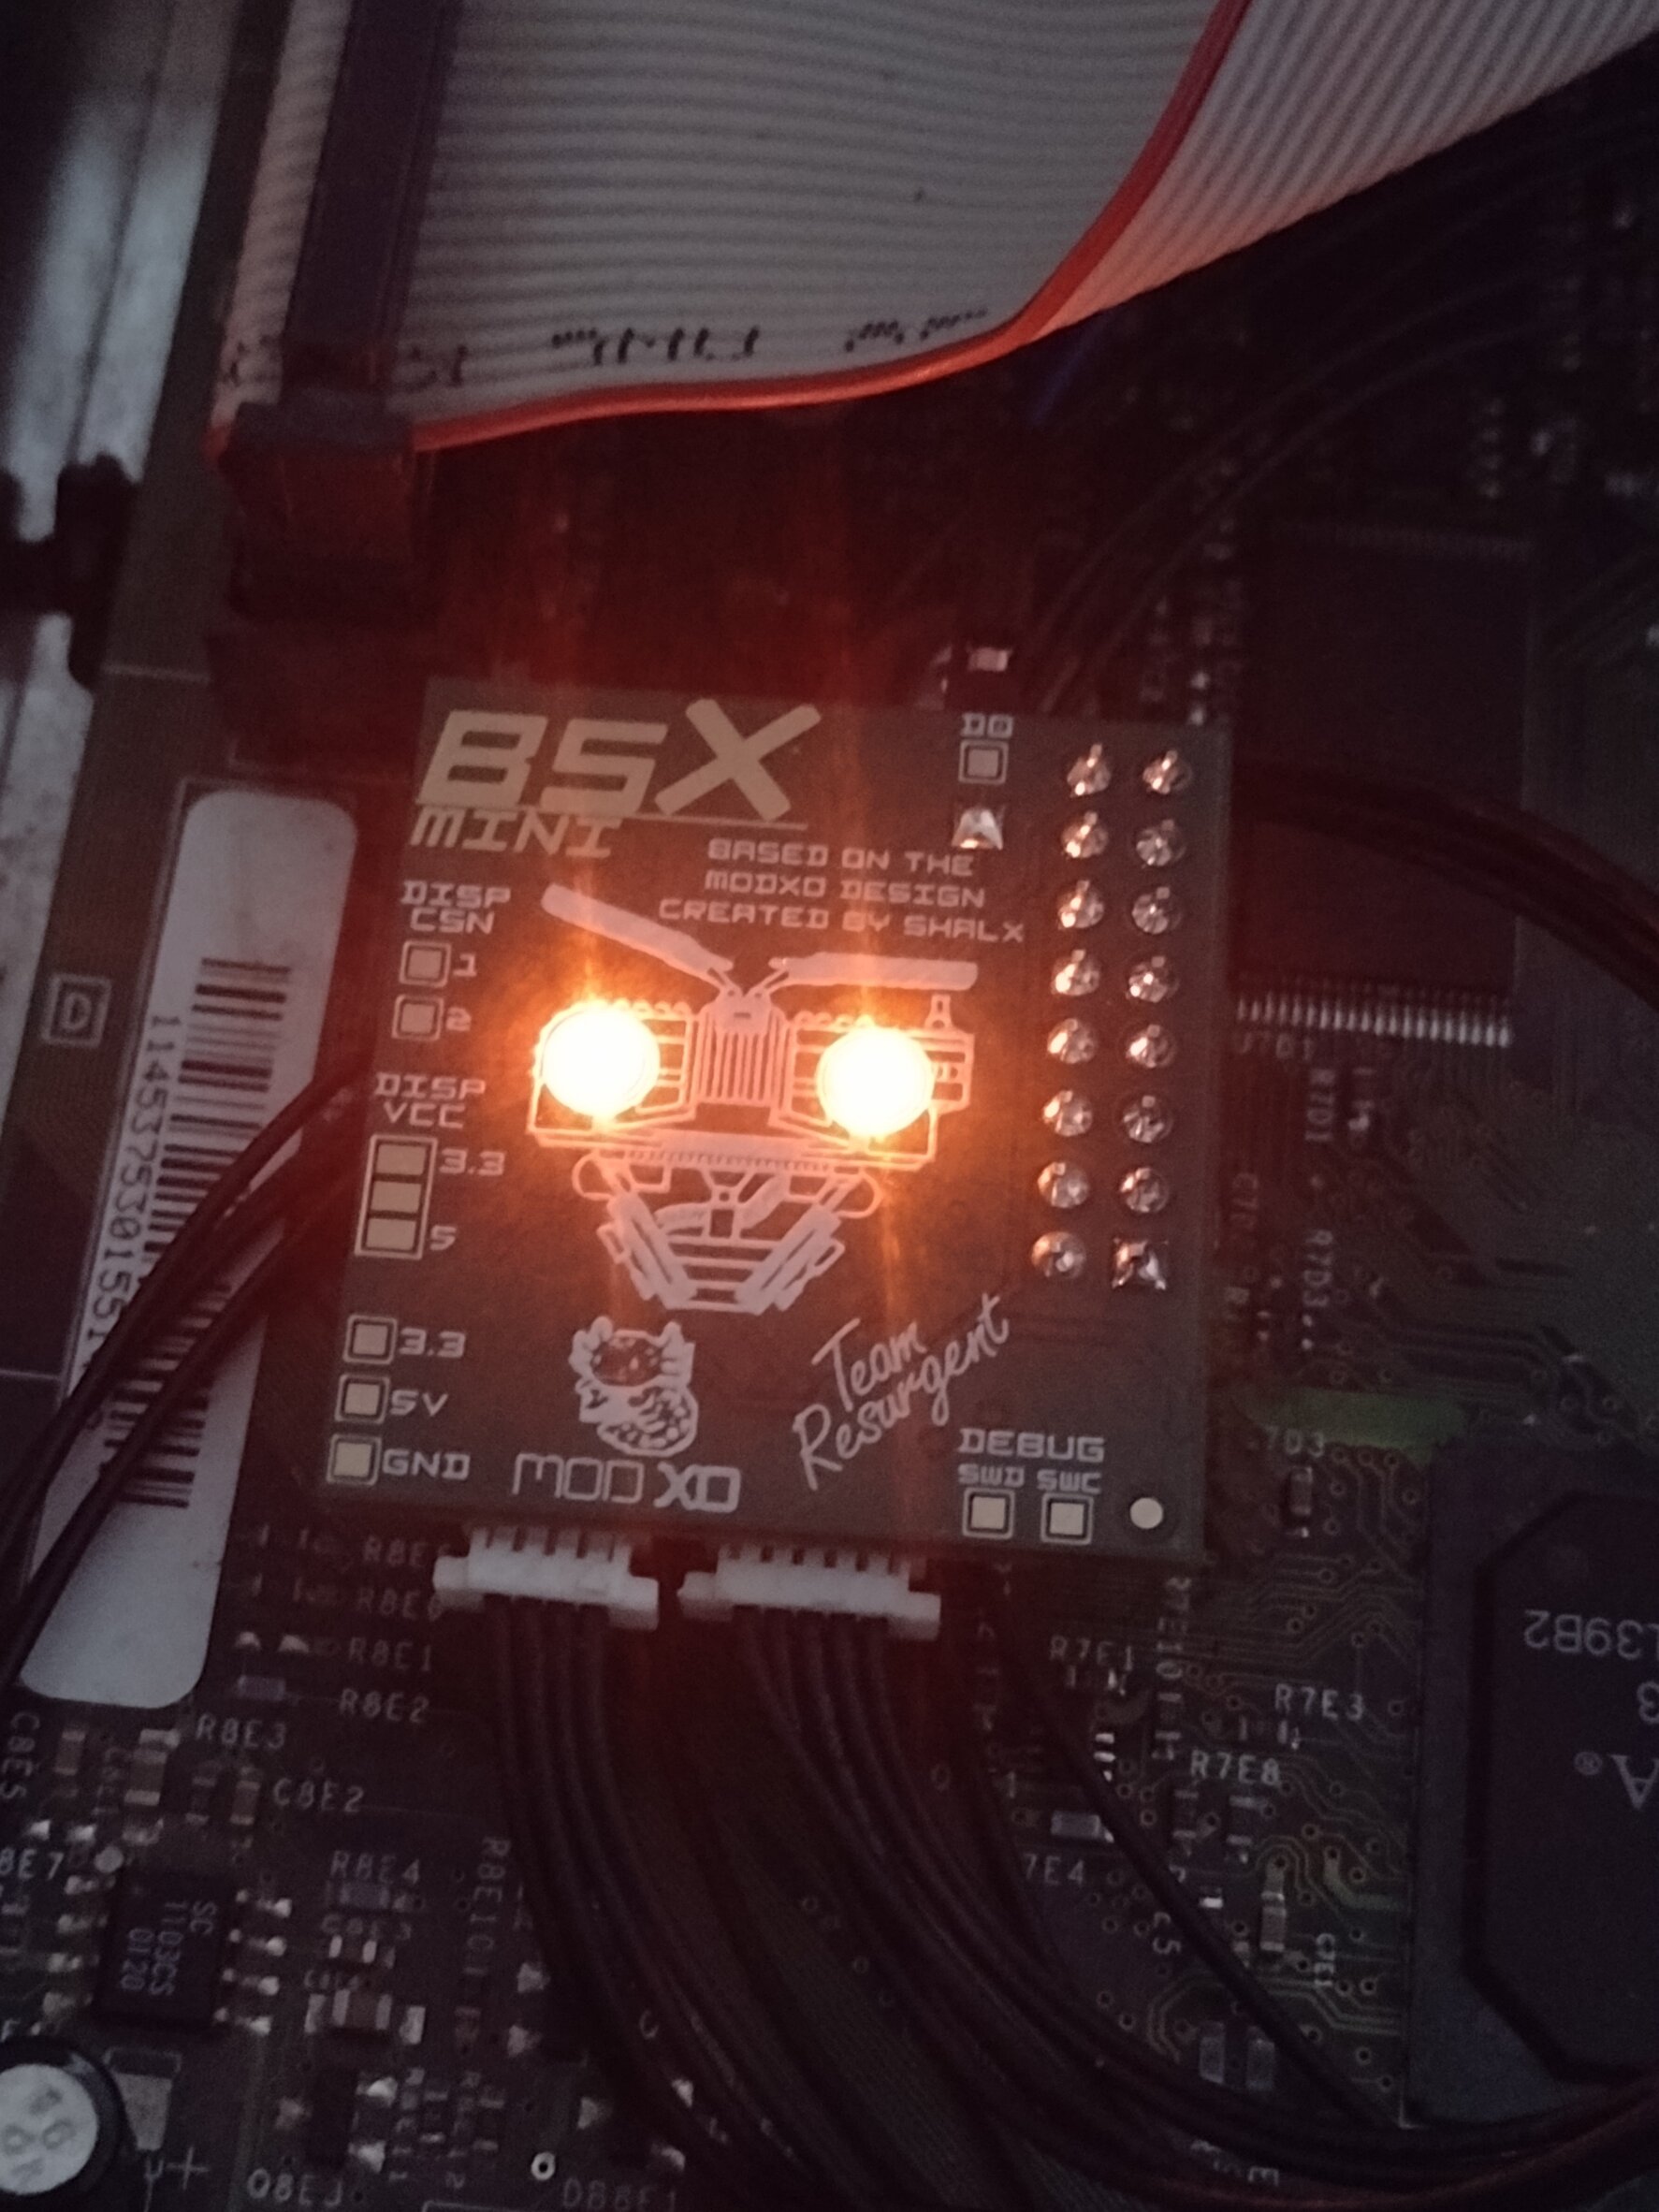
Andr0 released the X-RTC for Team Resurgent a while back and the mod has official support in PrometheOS. I thought I would add my cosmetic touch and unique board layout characteristics to this mod, as well as making it easy to install by plugging into the MB I2C connector on the BSX Nova and Mini. I added a CR2032 battery slot which should last several years. In fact, if the console is kept plugged in for more time than it isn't, the battery will decompose before it actually runs out of power, since it is only tapped when the motherboard standby power is disconnected, and the DS3231 runs on tens of microamps. The 5V LED illuminates when 1.6 standby power is connected properly and the 3.3V indicates when the VREG is outputting 3.3V to the RTC IC, or when the 1.0 - 1.4 standby power is being tapped directly. I added a test LED to make sure that the battery is good, and the "Run" LED which blinks to indicate when PrometheOS has successfully programmed the mod and you know that you are good to go and put your case back together. You can also see it through the side vents and see your Xbox's heartbeat.

I have made efforts to make this mod as simple to use and to install as possible, with the I2C input plugging straight into the BSX modchip, as you see here. However, this is not strictly necessary. You can run wires to SDA/SCL and standby power solder points on the motherboard and use the mod as long as you have a chip that supports PrometheOS/Cerbios. In fact, you can use a TSOP Cerbios flash, update the ini as outlined on the github and then program using the version of PrometheOS I also have hosted on there. Just solder the I2C to the PIC controller up top. There is an I2C out, for people wishing to use HDMI mods that use the SMBus in general for programming/configuration.
I am already at work to make the install process for the BSX-RTC even easier, as I feel that the installation could be made so with a little more effort. Thank you to Andr0 for creating the mod in the first place. His simple, elegant solution sparked the project! Thank you to Team Resurgent and Team Cerbios for supporting the mod. A BIG thank you to Jade for helping me learn how to pack the custom ModXO and PrometheOS code I have for my chip to work properly and as desired, allowing me to offer a singular flash file to image to my chip instead of two.
Product Listing: https://www.bsxmods.net/products/bsx-rtc
Github: https://github.com/Bowlsnapper/BSX-RTC
BSX Mods Discord: https://discord.gg/kFRKK77dEk
-
5
-
-
19 hours ago, minecraftGman said:
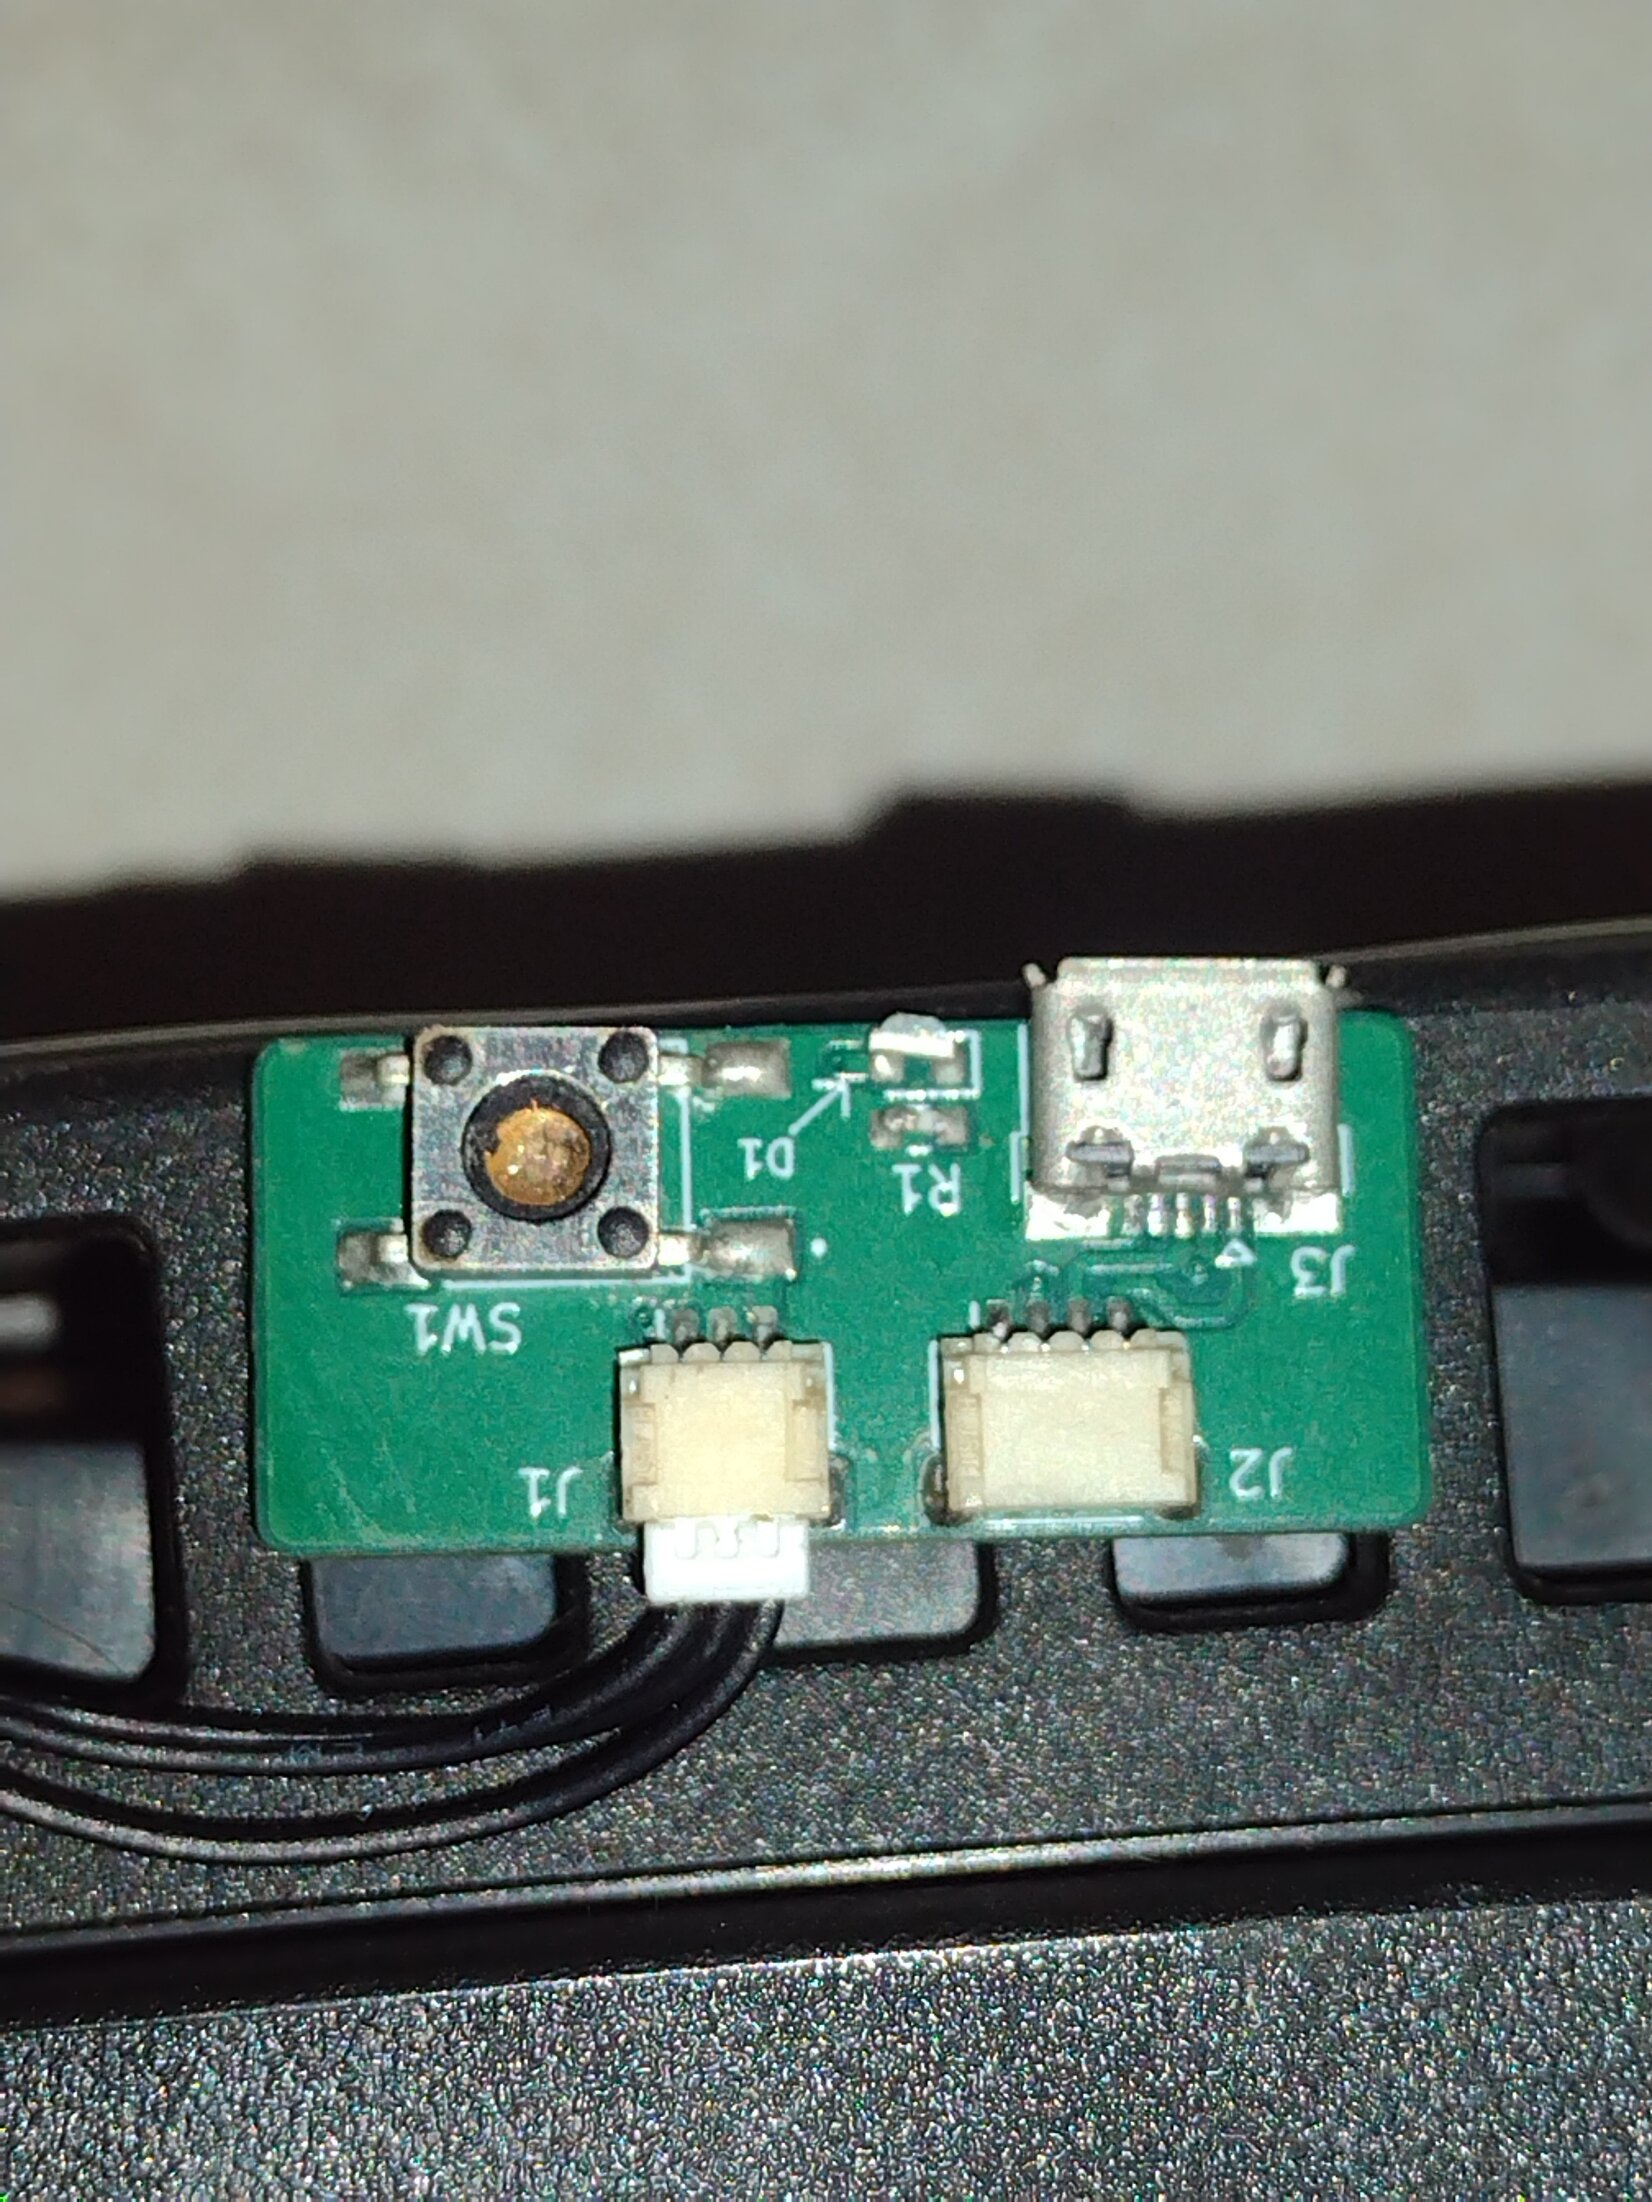
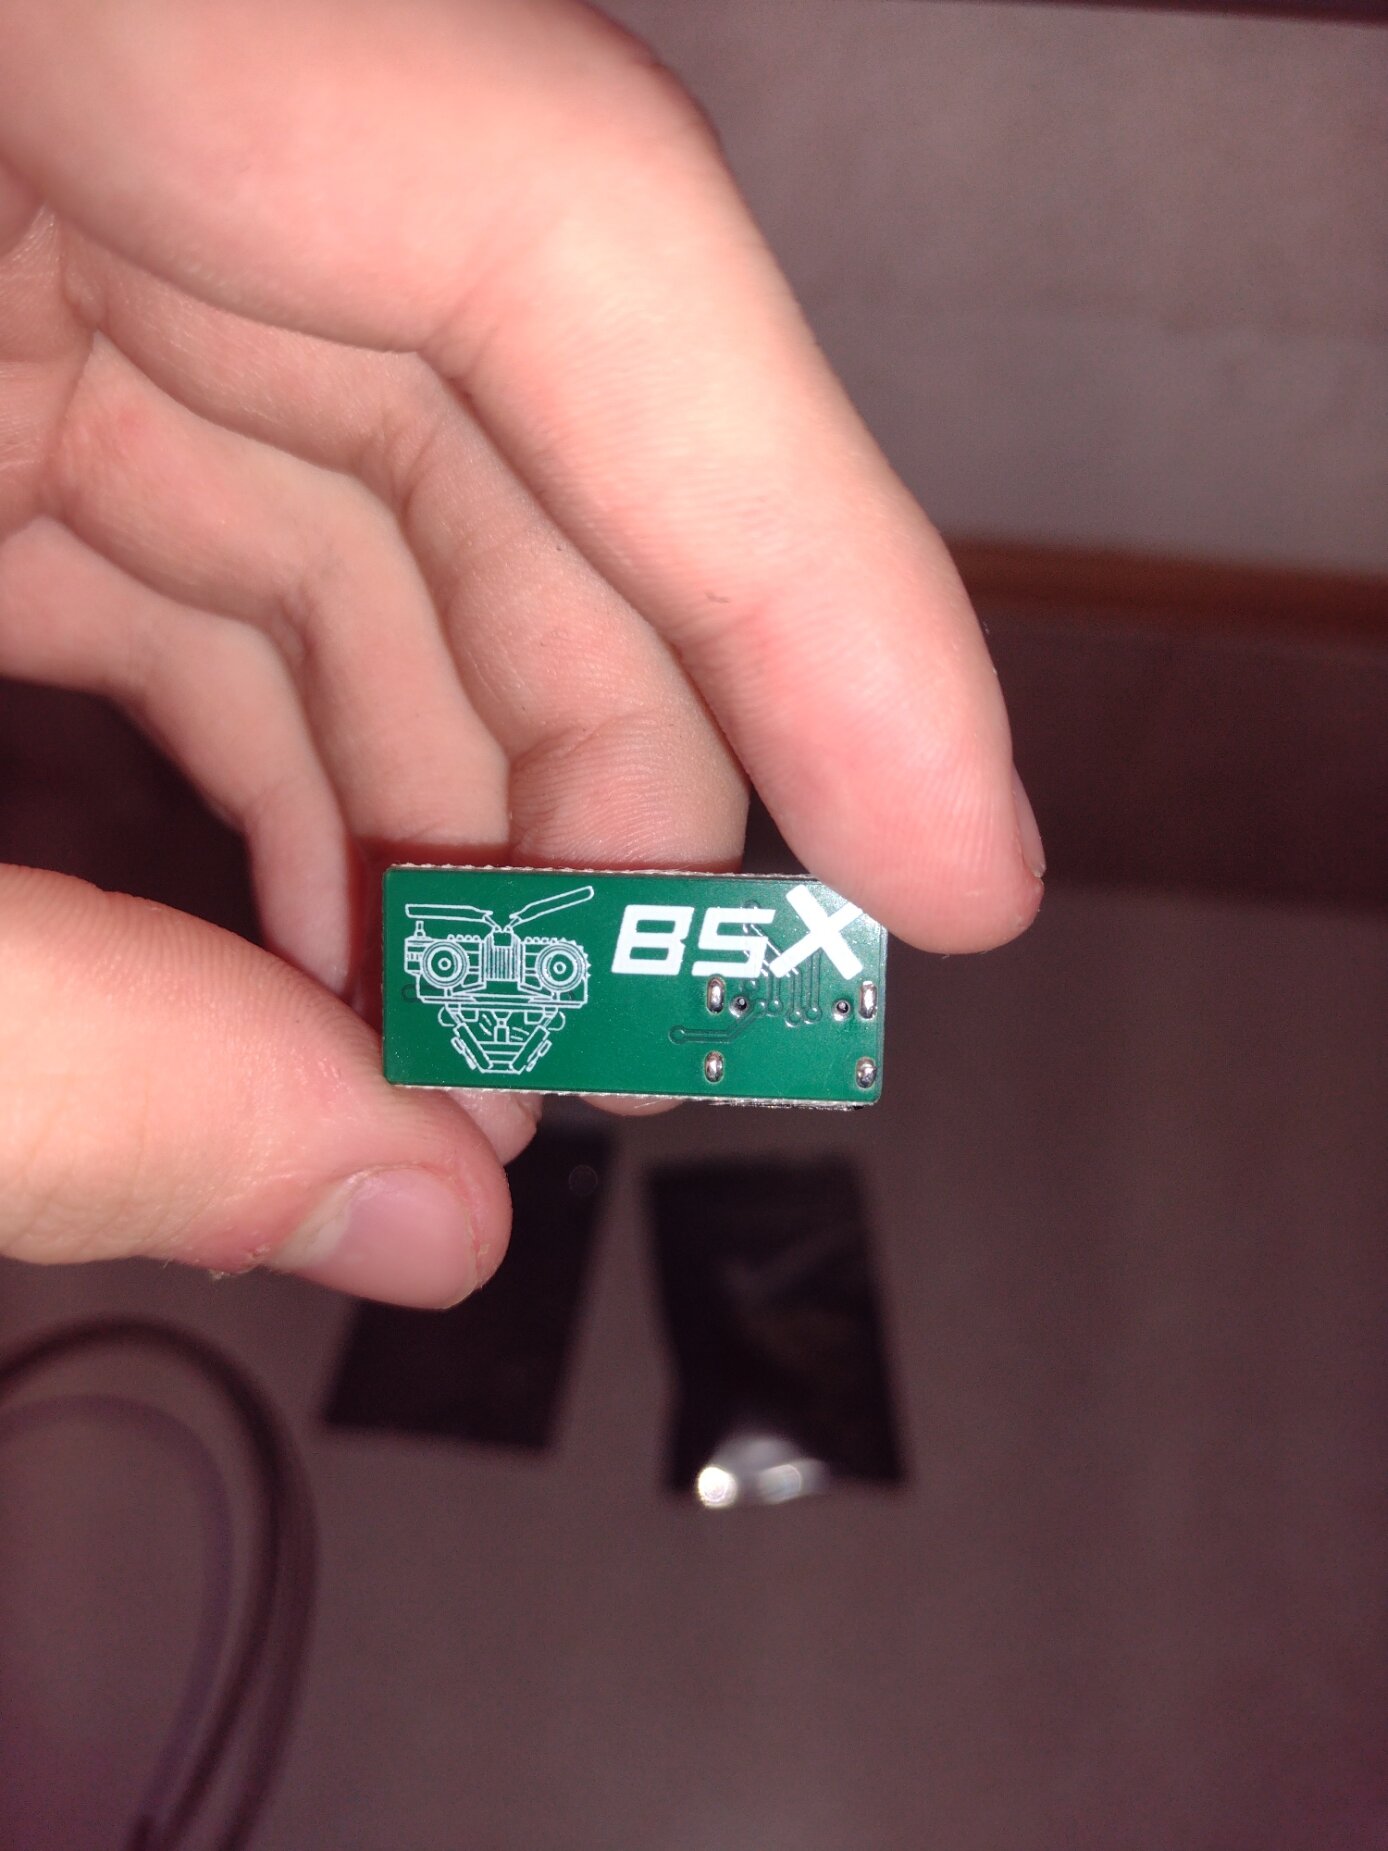
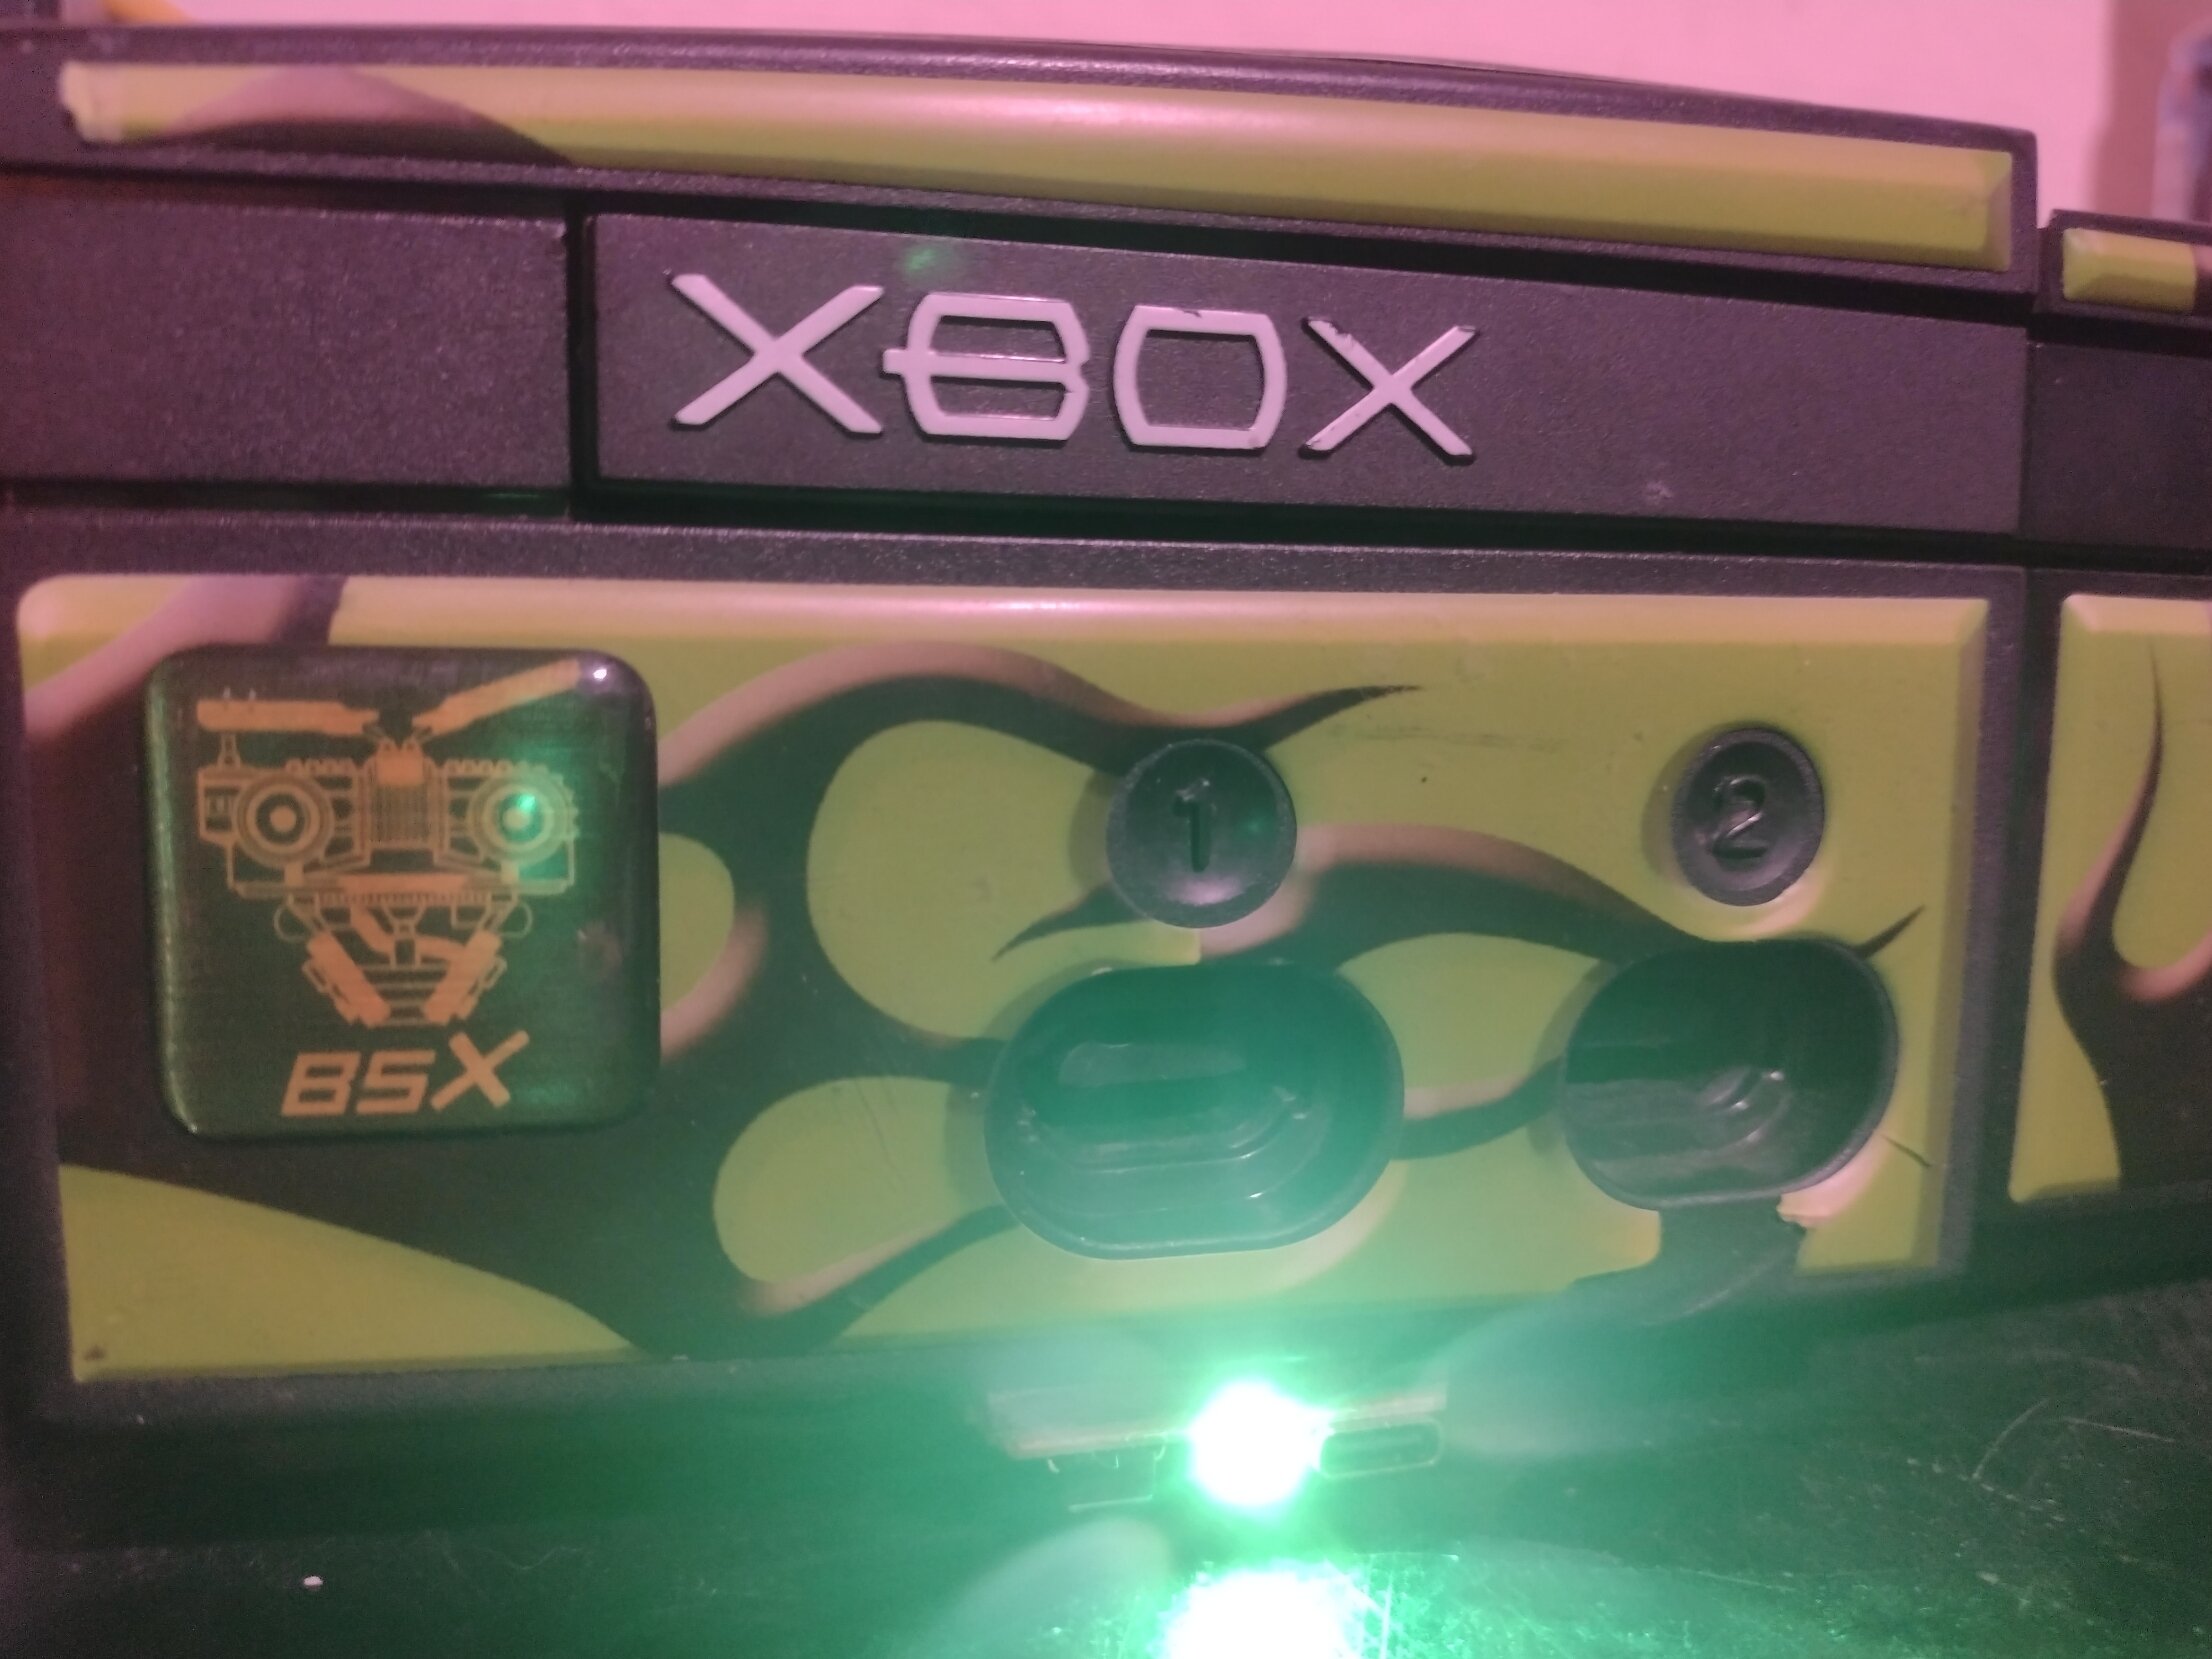
Thank you @Bowlsnapper for sending me an early alpha version of the BSX. Your work is amazing, and I feel blessed, and thankful that I was given the opportunity to mod my Xbox! Thank you again for also sending me out the Mini! I'll always recommend your work to others, and I hope people continue to support your work. Thank you again! Sadly lost the original button on the front panel early but figured I should still show.
Holy Moley! Look at that thing! I can't believe it even worked... That was my second functional proto, if I remember correctly. I had it made by JLC, as is evidenced by the tooling holes. Although I can tell by the tweaked side-address GPIO25 status LED that it was me who assembled the outboard PCB. I wasn't using stencils and paste at the time and was soldering everything by hand. I can't believe how much the design changed after probably 4-5 months. I'm glad it served you well all this time. Thank you for having good things to say and for your support. It really, really means a lot.
")
I swear I have more of these around somewhere... (Goes to sleep with a mission in my head for the next morning...)
-
54 minutes ago, minecraftGman said:
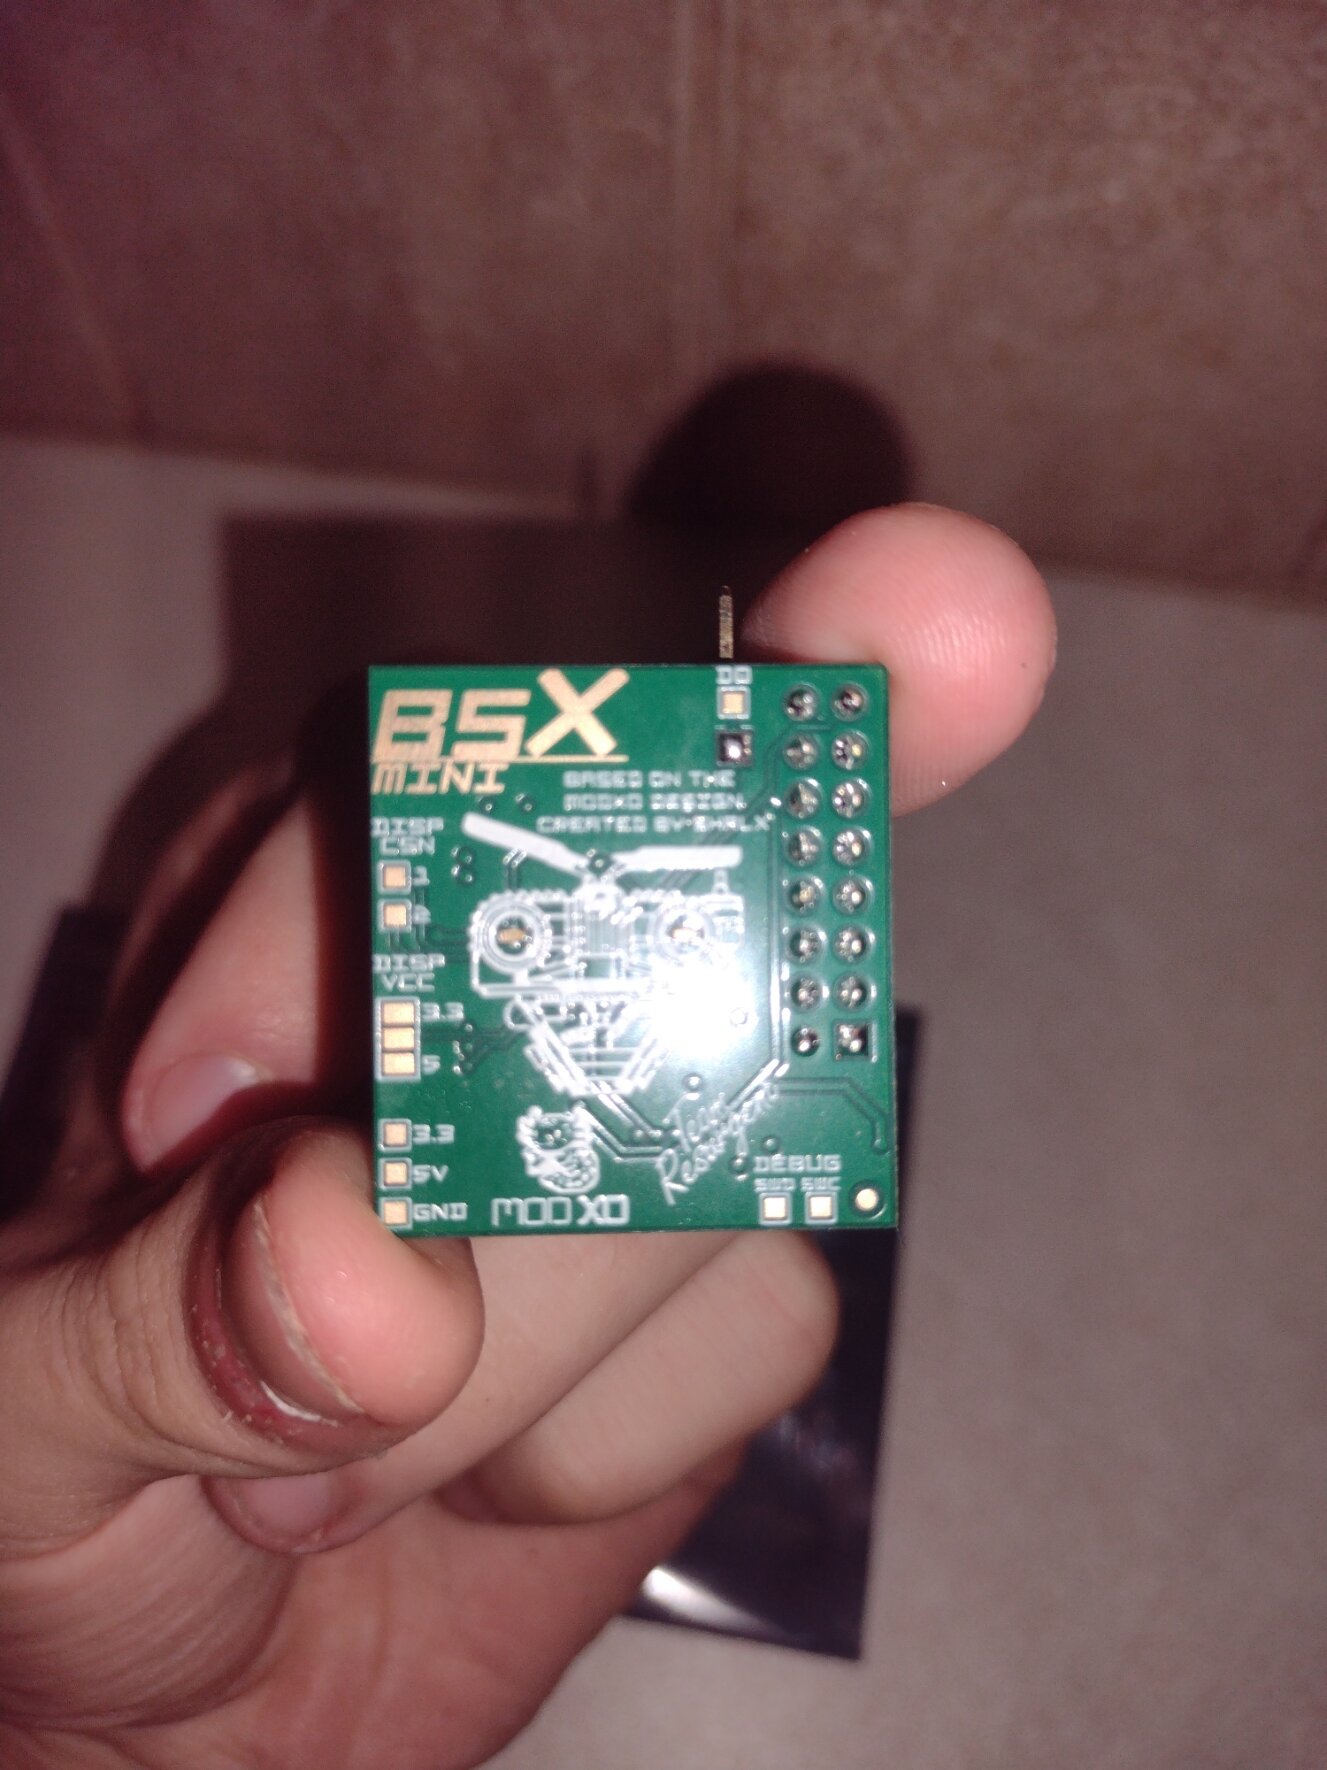
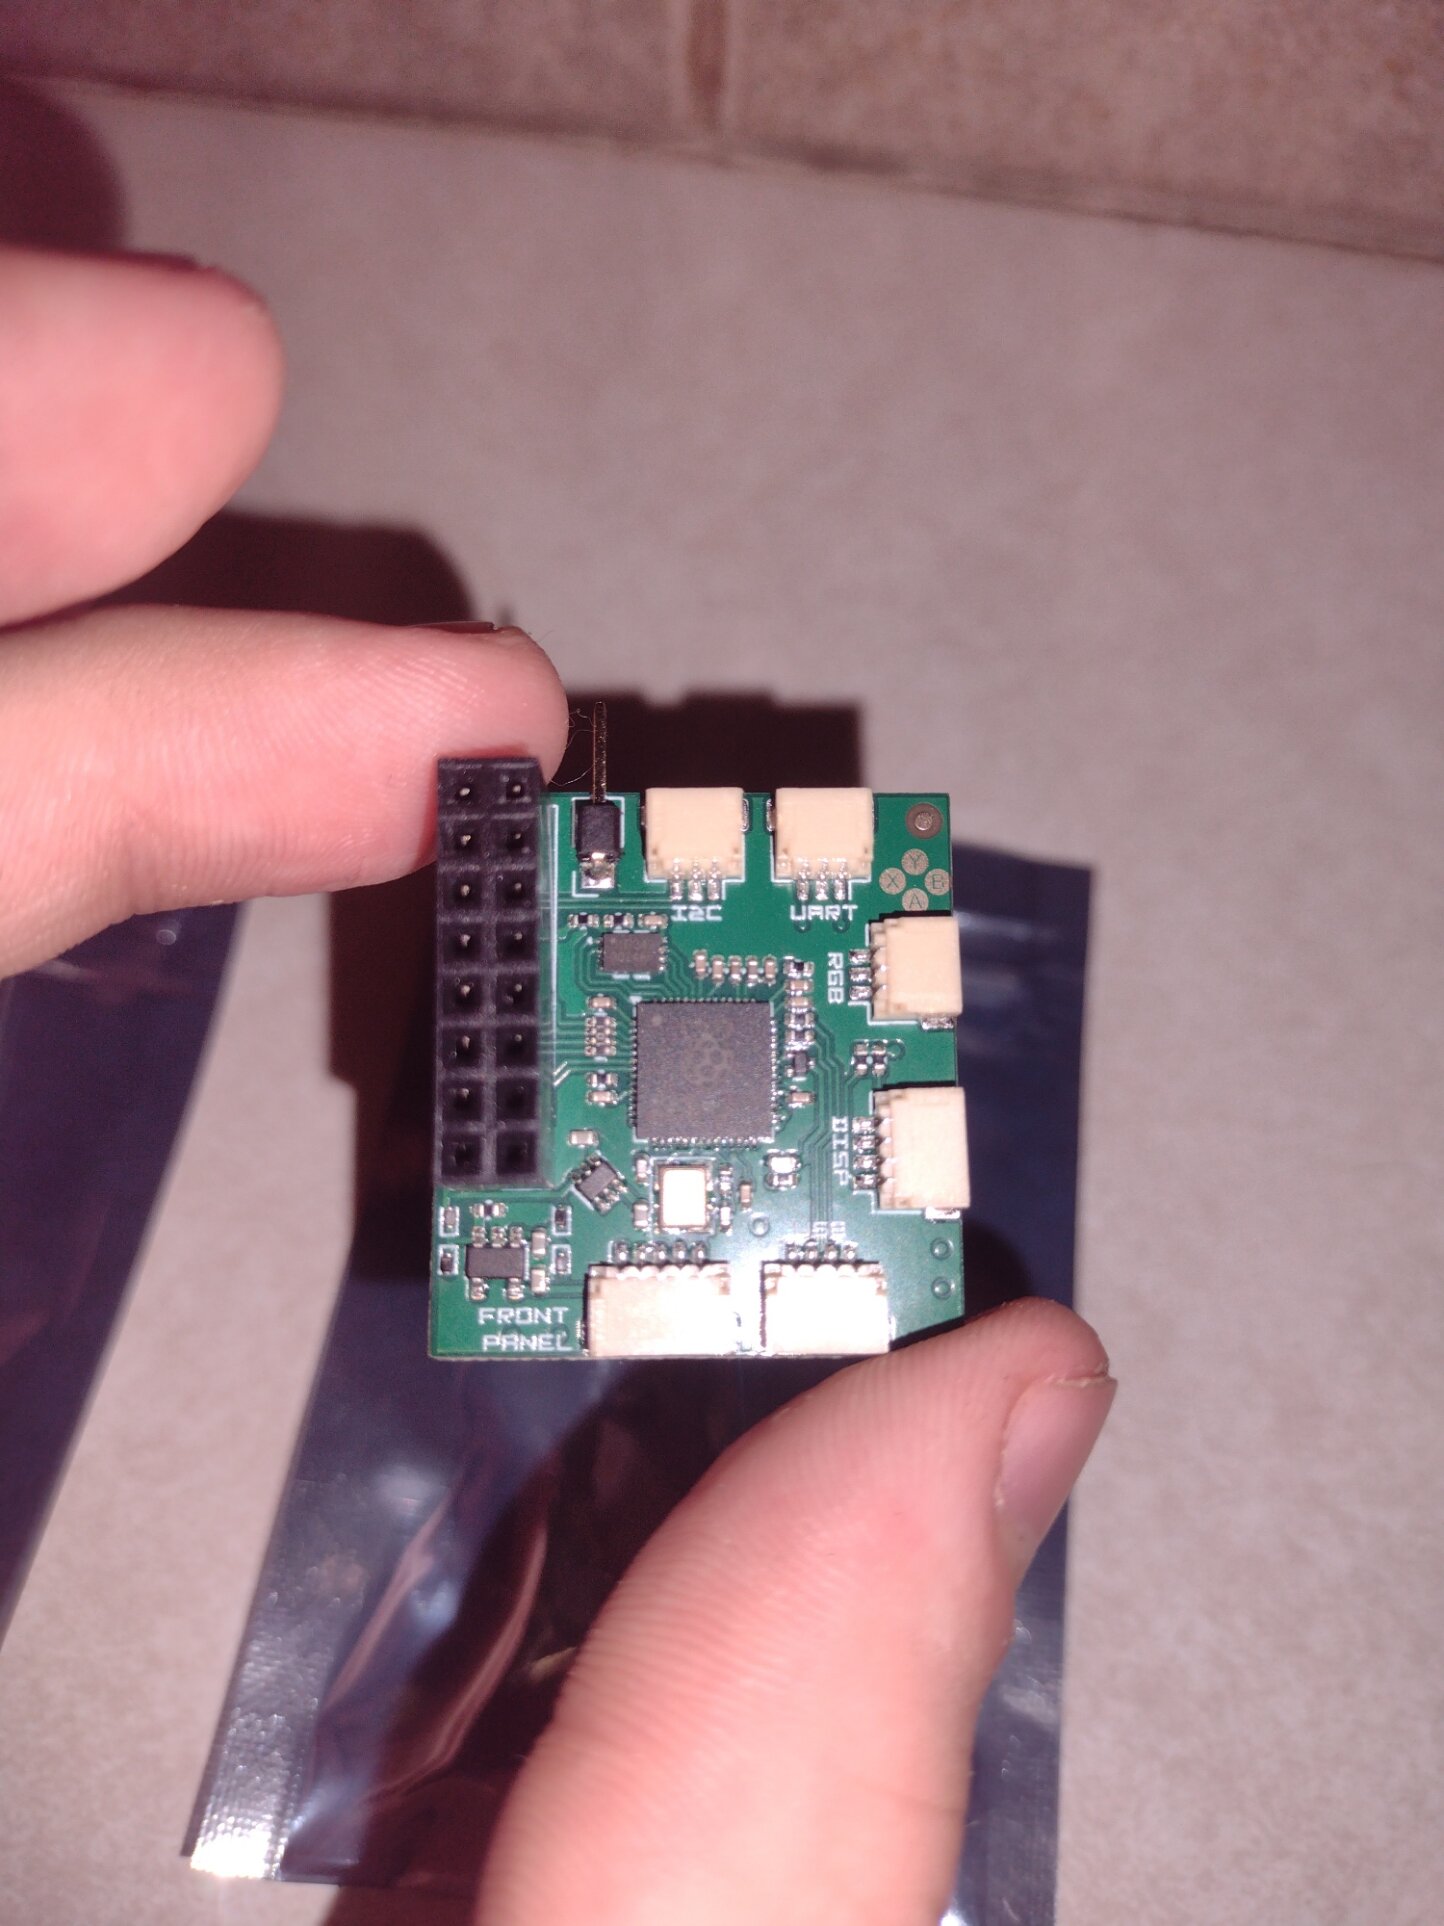
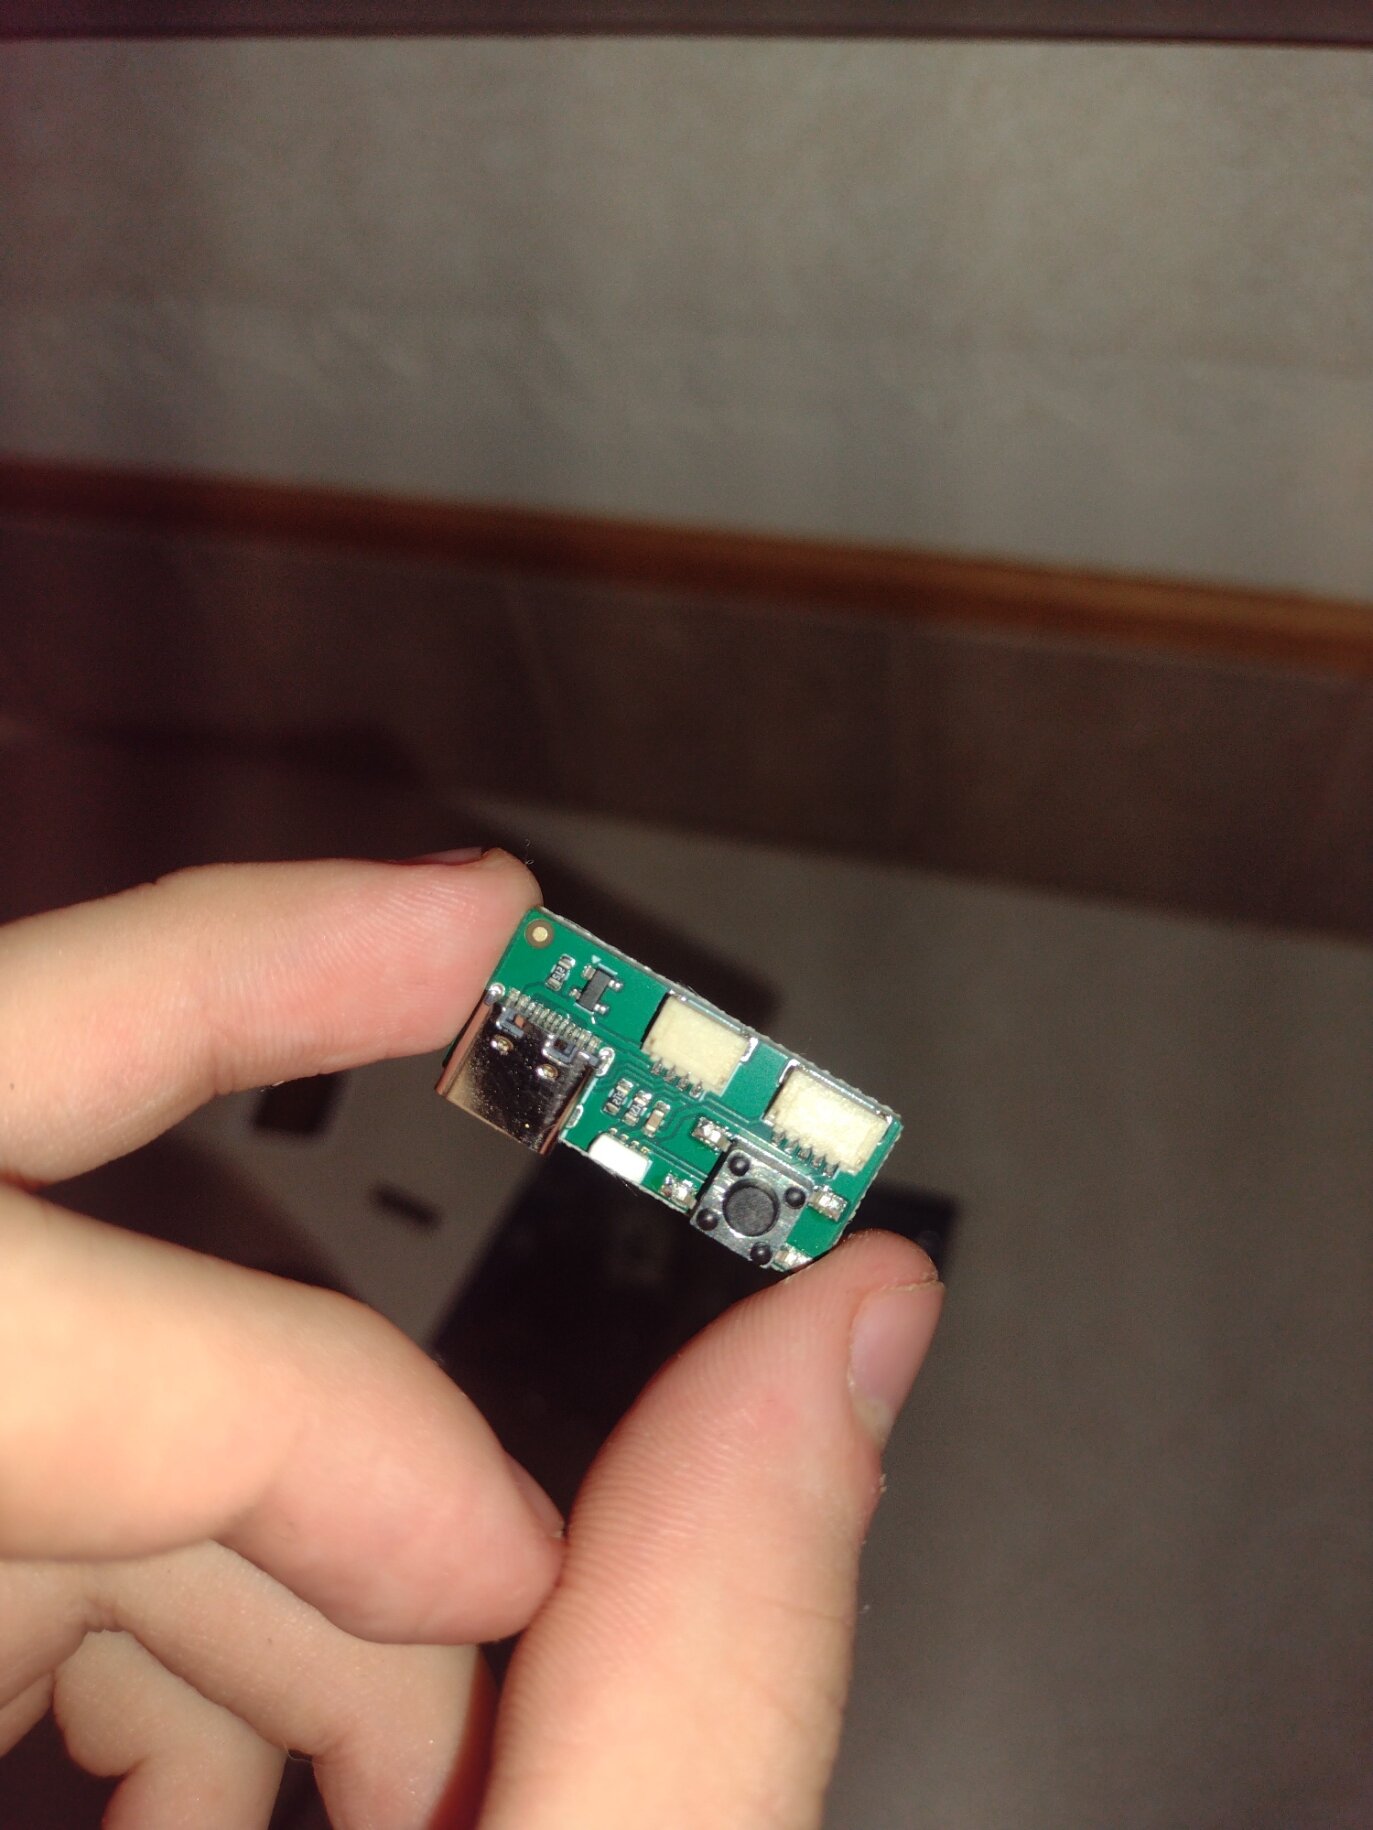
Got my hands on a BSX Mini.. The chip looks and functions amazing. I can personally recommend this chip to anyone either on a budget or wanting something simple. The design quality over all feels solid but compact in my hands. I love the LEDs for the eyes on Johnny. The front panel's quality is sturdy, and I love the change of it from Micro-USB to USB-C port on it, and the LEDs are perfect with adjustable settings in PrometheOS. This chip is over all easy and convenient. Amazing work as always @Bowlsnapper! I’m excited to see what’s next for the BSX project!
I'm glad you like it buddy.
Enjoy. Thank you.
-
1 hour ago, Nartixx said:
This looks really neat and I would like to have one, but I don't see any shipping options for the Netherlands?We will find a way to get it there. Please PM me with details and I will figure out the shipping.
I am researching how to do international shipping with Shopify. It looks like it will take some work, but will be important. The data I'm seeing shows that the US is only a fraction of the potential market.
-
Or a different cable?
-
1
-
-
13 hours ago, fretfulolive said:
@Bowlsnapper Been tinkering on this all week. I have the Halo 2 HD patch installed, with the FPS debug counter enabled on two xboxes. Here's a few interesting tidbits:
- If I up the FSB/CPU clocks using the Xboxoverclock.xbe, I get higher FPS in the Halo 2 boot animations, so I know that's working.
- When using patched BIOS, I've been encountering the same issue where XBMC shows the default clock speed even after flashing a patched BIOS. Using the same exact BIOS (Evoxm8 @ 150FSB/825mhz), I get the following results:
- On my 1.0 with an openxenium running prometheOS, XBMC shows the stock clocks
- On my 1.6 with an x-changer chip, XBMC shows the overclocked 825. However when I load up Halo 2 HD, I actually get lower FPS...I think I need to patch the halo xbe for higher clocks?
Truly maddening to try to get this consistent across boxes.
I believe Grimdoomer made sure that his build was optimized in ways that could run into issues if you do a manual CPU overclock.
"This patch can be used on any soft or hard modded Xbox console with no additional hardware modifications. However, if you don't have the 128MB RAM mod you will only be able to play the game in 480p mode. There is NOT enough RAM to play the game in 720p or 1080i without the RAM upgrade. Additionally you will need an 80-pin IDE cable if you want to use HDD transfer speeds faster than UDMA 3. You do not need a CPU upgraded console to use this patch and having one does not provide any additional performance gains that I've been able to measure during testing."
The GPU is overclocked in his patch in order to achieve these framerates. Experimenting with the GPU overclock in the .ini is how you would achieve better performance. I would actually use the 720p patch of Halo 1 to test overclocks. You will see a measurable difference in framerates with CPU overclocks and it's kinda fun.
The issues you are experiencing is exactly what my experience has been, which is that the overclocks only take on certain boards/consoles when using Cerbios. I have no idea in hell why this is and if Team Cerbios could be reached more easily, I would ask them. I am willing to bet that if you run any other bios with the patch, it will work on all consoles, depending on what their maximum achievable clock speeds are. It would be worth experimenting with.
-
9 hours ago, aeleequis said:
Yes, to recap:
No audio nowhere, not OG dashboard, not on custom (xbmc4g), not on games.
The boot animation, if left at the default one, only does a black screen and gets stuck there.
If changed to any other boot animation, it does work (with no audio, of course) and gets to XBMC4G correctly.
I strongly believe there is a hardware issue, but not really sure how to pinpoint where it is. The board, apart from the area where the cap leaked, looks fine. I checked continuity of the traces that were rotten and they all have continuity, and are each one isolated from the other traces.
I think I mentioned it before, I did replace EVERY capacitor on the board, except for the clock cap, which is removed.
The board revision is a 1.4 if I'm not mistaken.
I'll post photos of the board whenever I can.
Thank you for the help
I know it sounds stupid, but please try swabbing the female AV socket with alcohol and a q-tip. Then, while it is still wet, mate the AV cable to the socket several times. Then pull it out to dry. Then try to test audio. This has fixed audio/video issues for me more times than I can count. If that does not work, try another AV cable.
-
1
-
-
7 hours ago, fretfulolive said:
Thank you for the response! So are you also OC your RAM speeds to match the CPU, or are you somehow able to OC the CPU separately?
There is a memory divider. There is a bios patching version, and then a software (XBE) version. I think it can be done with both, but there are different methods. I cannot speak about the divider from experience, but I know some have experience with it.
https://github.com/GXTX/XboxOverclockYou can experiment with the XBE version to see what your limits are more quickly and then try a bios patch with those settings, but I am not quite sure how to do it with the CMD version. Hopefully somebody else here might know. Also, I have had issues with overclocking Cerbios on several of my machines, and it seems to come down to the motherboard. Some consoles will take the bios patch, but most are ignoring it and I have no idea why. Any other bios works fine. Cerbios seems to be resistant.
-
3 hours ago, fretfulolive said:
Could I ask you how you got to 827? I'm using the newer XboxOverclock xbe, and it adjusts FSB/CPU/RAM clocks in sync, but pushing past ~760 pushes the RAM clock too high, which according to this post is limited to 200-210mhz.
I'm trying real hard to max out my 1.6 so I can play insane halo 2 mods without massive FPS drops - any help deeply appreciated!It's binning. Most are able to only get as high as you're going. Some have been claimed at like, 900mhz, but that can't be even close to common.
-
2 hours ago, aeleequis said:
Hi everyone. As i mentioned on my introductory post, I have an 1.4 OG Xbox that isn't quite right.
I bought it knowing it didn't work, the seller told me a friend of his had replaced the caps and it worked for a while, but that now it's back to not working (when i bought it).
After buying it and testing it, it did the classic fragging (reboot 3 times and then "Christmas lights").
When i opened the case, i found the that friend of his did replace some caps, the CPU/GPU ones, but left one without replacing that is arguably way more urgent to replace... the clock cap. Yes, it had already leak all over the place. I cleaned all the acid, removed the cap. Installed a ModXO... and the console boots up!.... but it does by itself, when plugging it to AC... that's not good. Also, pressing the eject button powered off the console. I latter discovered that this is a very known symptom of trace rot. A very good video about it is in the Retro Renegade Repairs channel, he explains in detail how to fix it. It is a matter of bridging the broken traces. If the damage is minimal, you can just bridge tiny gaps, but as i had the trace broken a few times along its length, i opted for just bridging the starting point and ending point of each broken trace with a very thin wire (i used an old IDE cable).
This fixed the self powering issue and the eject button works! well, the button does, the tray doesn't open, but that was because the elastic band inside the tray was very old and loose.
After cleaning and greasing the tray mechanism, i discovered that the DVD seems to be dead already. It is a Thomson, from what i read over the internet, those drives are the worst ones.
So it appears as the previous owner had attempted a softmod, as the HDD already had games and a custom Dashboard.
I cloned the Drive with CHIMP, and used XBTable Partitioner to make the clone a new drive, after configuring everything to my liking, i discovered a weird thing. When powering the console, there was no boot animation. Cerbios has a custom one, where is the same as the OG but with custom colors. The screen is just blank, nothing.
If i power the console with the Eject button, the console boots in safe mode, skipping the boot animation and goes straight into XBM4G.
Then i noticed something i didn't already, there was no sound at all. XBMC4G makes sounds when you move the cursor, but this was completely silent.
When launching games, some would load, but then get stuck, and some would just reboot the console.
This is where i realized something is still wrong with the console, but i don't really know what.
I replaced EVERY capacitor on the board, to no avail.
One thing that may have caused this, but i am not really sure, is that when i tried to put an 80 wire IDE cable, the console rebooted itself. The thing is, i don't really remember if the console did or didn't have audio before that. And if this has damaged any crucial part of the motherboard, like the MCPX.
I don't think the issue is the RAM, as i read on-line that if it were the case, the console wouldn't even boot.
Any ideas?
thank you all
Regarding sound, try pressing the right thumbstick up and see if your volume is down. Right thumbstick is volume up and down, and this setting is saved between bootups so it could have happened before you even had a chance to do anything, so you wouldn't have known. You don't say if XBMC is the only "app" that does not have sound, but if it is, this may be why. If not, check your MS dash/EEPROM settings and see what your audio type is set to. Only other thing is cleaning the AV port with alcohol and a q-tip.
You DID remove all the softmod files so your Hardmod could work properly, correct?
-
1
-
-
Okay guys. The website is up, and I am ready to take orders. The chips come with everything you see pictured. Two cables, front panel PCB, pin header, D0 dupont (Socket) wire, and they come preflashed with the most recent versions of ModXO and PrometheOS.
The github is live as well, for ModXO firmware releases specific to the board, which require some tweaking.Thank you to @shalx and to Team Resurgent. As well as !!!thexkey for helping me with the pinout diagrams and helping me understand the basics of web devving.
http://www.bsxmods.net
https://github.com/Bowlsnapper/BSXBSX Mods Discord: https://discord.gg/kFRKK77dEk
-
7
-
-
I had a big order of BSX Nova and Mini chips made, since I honestly don't have time to be making these by hand. I have been testing with the latest version of PrometheOS (1.5.0) and making sure things work as expected. I am working on the website and would like to make sure that people have a place to order them from by the end of the weekend. Displays work as expected and now do not have to be bodged between the Motherboard I2C and 5V VCC/GND sources. I am reasonably confident now that anything else that needs to be added can be largely done in firmware.
Check with ya in a day or two.
")
Edit: SPI2PAR courtesy of @lopenator
-
5
-
-
-
1
-
-
Which Amazon Rework Station?
-
11 minutes ago, MichiS97 said:
Hiya,
first time poster, long time lurker and I'm already here with an extremely specific question. Basically, I've just set up my very first OG Xbox with Cerbios and everything and I'm really happy about that but I WANT MORE. I realized that there aren't any trainers for some of the games I'm planning to play so I wanted to set up a debug environment so I can do some reversing and patching of the executables myself. Don't worry, I have a lot of experience doing this with other consoles, so it's not like I'm completely lost.
My plan was to set up a dev environment on that xbox using the Easy XDK Installer, along with setting up a WinXP VM on my PC with Visual Studio 2003 and everything. Finally, I expected to be able to attach VS2003 to any process that's running on the Xbox, find where a certain games stores e.g. the current amount of money, set a data breakpoint on that address and then figure out how to patch the executable so that I would have infinite money.
Surprisingly, a lot of this has worked very easily. The setup was done in under two hours and I have already identified an interesting address in one game. However, I can't seem to seta data breakpoint on that address, as VS2003 always tells me "Invalid context".
Has anyone done something like this before? Do you know how to setup a data breakpoint?
As far as I can tell the problem is that VS2003 expects me to set the data breakpoint on a variable. Obviously I don't have the source code so I can't work with any actual variables. Is there a workaround?
This may be a stretch, but is it really not possible to just attach GDB remotely? I'm not planning on doing any actual software development, I'm really just interested in reverse engineering.Any help would be very appreciated, thank you!
I also wonder about this. Maybe @Jay Yardley may have some insight?
-
8 hours ago, Cyberxine said:
$ sha256sum --check checksum
Easy XDK Installer 1.4.2.iso: OK
Do you have any idea why the ISO couldn't be mounted? Are you able to mount the disc on your machine, @Bowlsnapper? I am using Xfburn to burn to a disc, which I've never had any troubles with before. Mounting ISO images with my file manager on Fedora MATE has never not worked. Is there something special about this ISO I'm not aware of; anything Xbox DVD partition related?
Forgive me for being stupid. Now I understand why you're having an issue.
You can't browse an Xbox DVD with a regular PC OS. You need to either use a 3rd party utility like XDVDMulleter or Extract-XISO. This is because the ISO is in the proprietary XDVDFS filesystem, instead of a regular data disc, for ensured compatibility. I would suggest using the latest version (1.4.2), since there were some bug fixes and improvements made, as well as more documentation on the disc itself. Please consider coming into the Discord Server, so that I can help a bit more directly, however, I will still answer any questions you have here on the forum.
BSX Mods: https://discord.gg/kFRKK77dEk


Board Life Status
Board startup date: April 23, 2017 12:45:48
Brand New Halo 2 Limited Edition!
in General Xbox Discussion
Posted
Everything he sells is overpriced. He even has a copy of Halo 2 for 11,500 dollars. It's not even graded. He uses the term "GRAIL" a lot which signifies that he has "I know what I have" disease. He's probably kinda disconnected from reality.