

Wouter A
-
Posts
53 -
Joined
-
Last visited
-
Days Won
3
Content Type
Profiles
Forums
Calendar
Store
Posts posted by Wouter A
-
-
Name: wouter
Location: netherlands
I am a gaming enthousiast.
I have a rack made from an old bed for evening fun with friends.
On that rack I have 8 22" televisions with 8 xboxes to play games on a lan connection.
I always try to get the best display quality possible, currently all is component. It is a lot of work to connect this.
Currently making wii2hdmi connectors fit the all mighty xboxes, with succes.
Will post a tutorial!

Board Life Status
Board startup date: April 23, 2017 12:45:48
Hdmi Plug Aka X2hdmi
in Tutorial Submission
Posted
Since there is no clear tutorial on the web I will submit it!
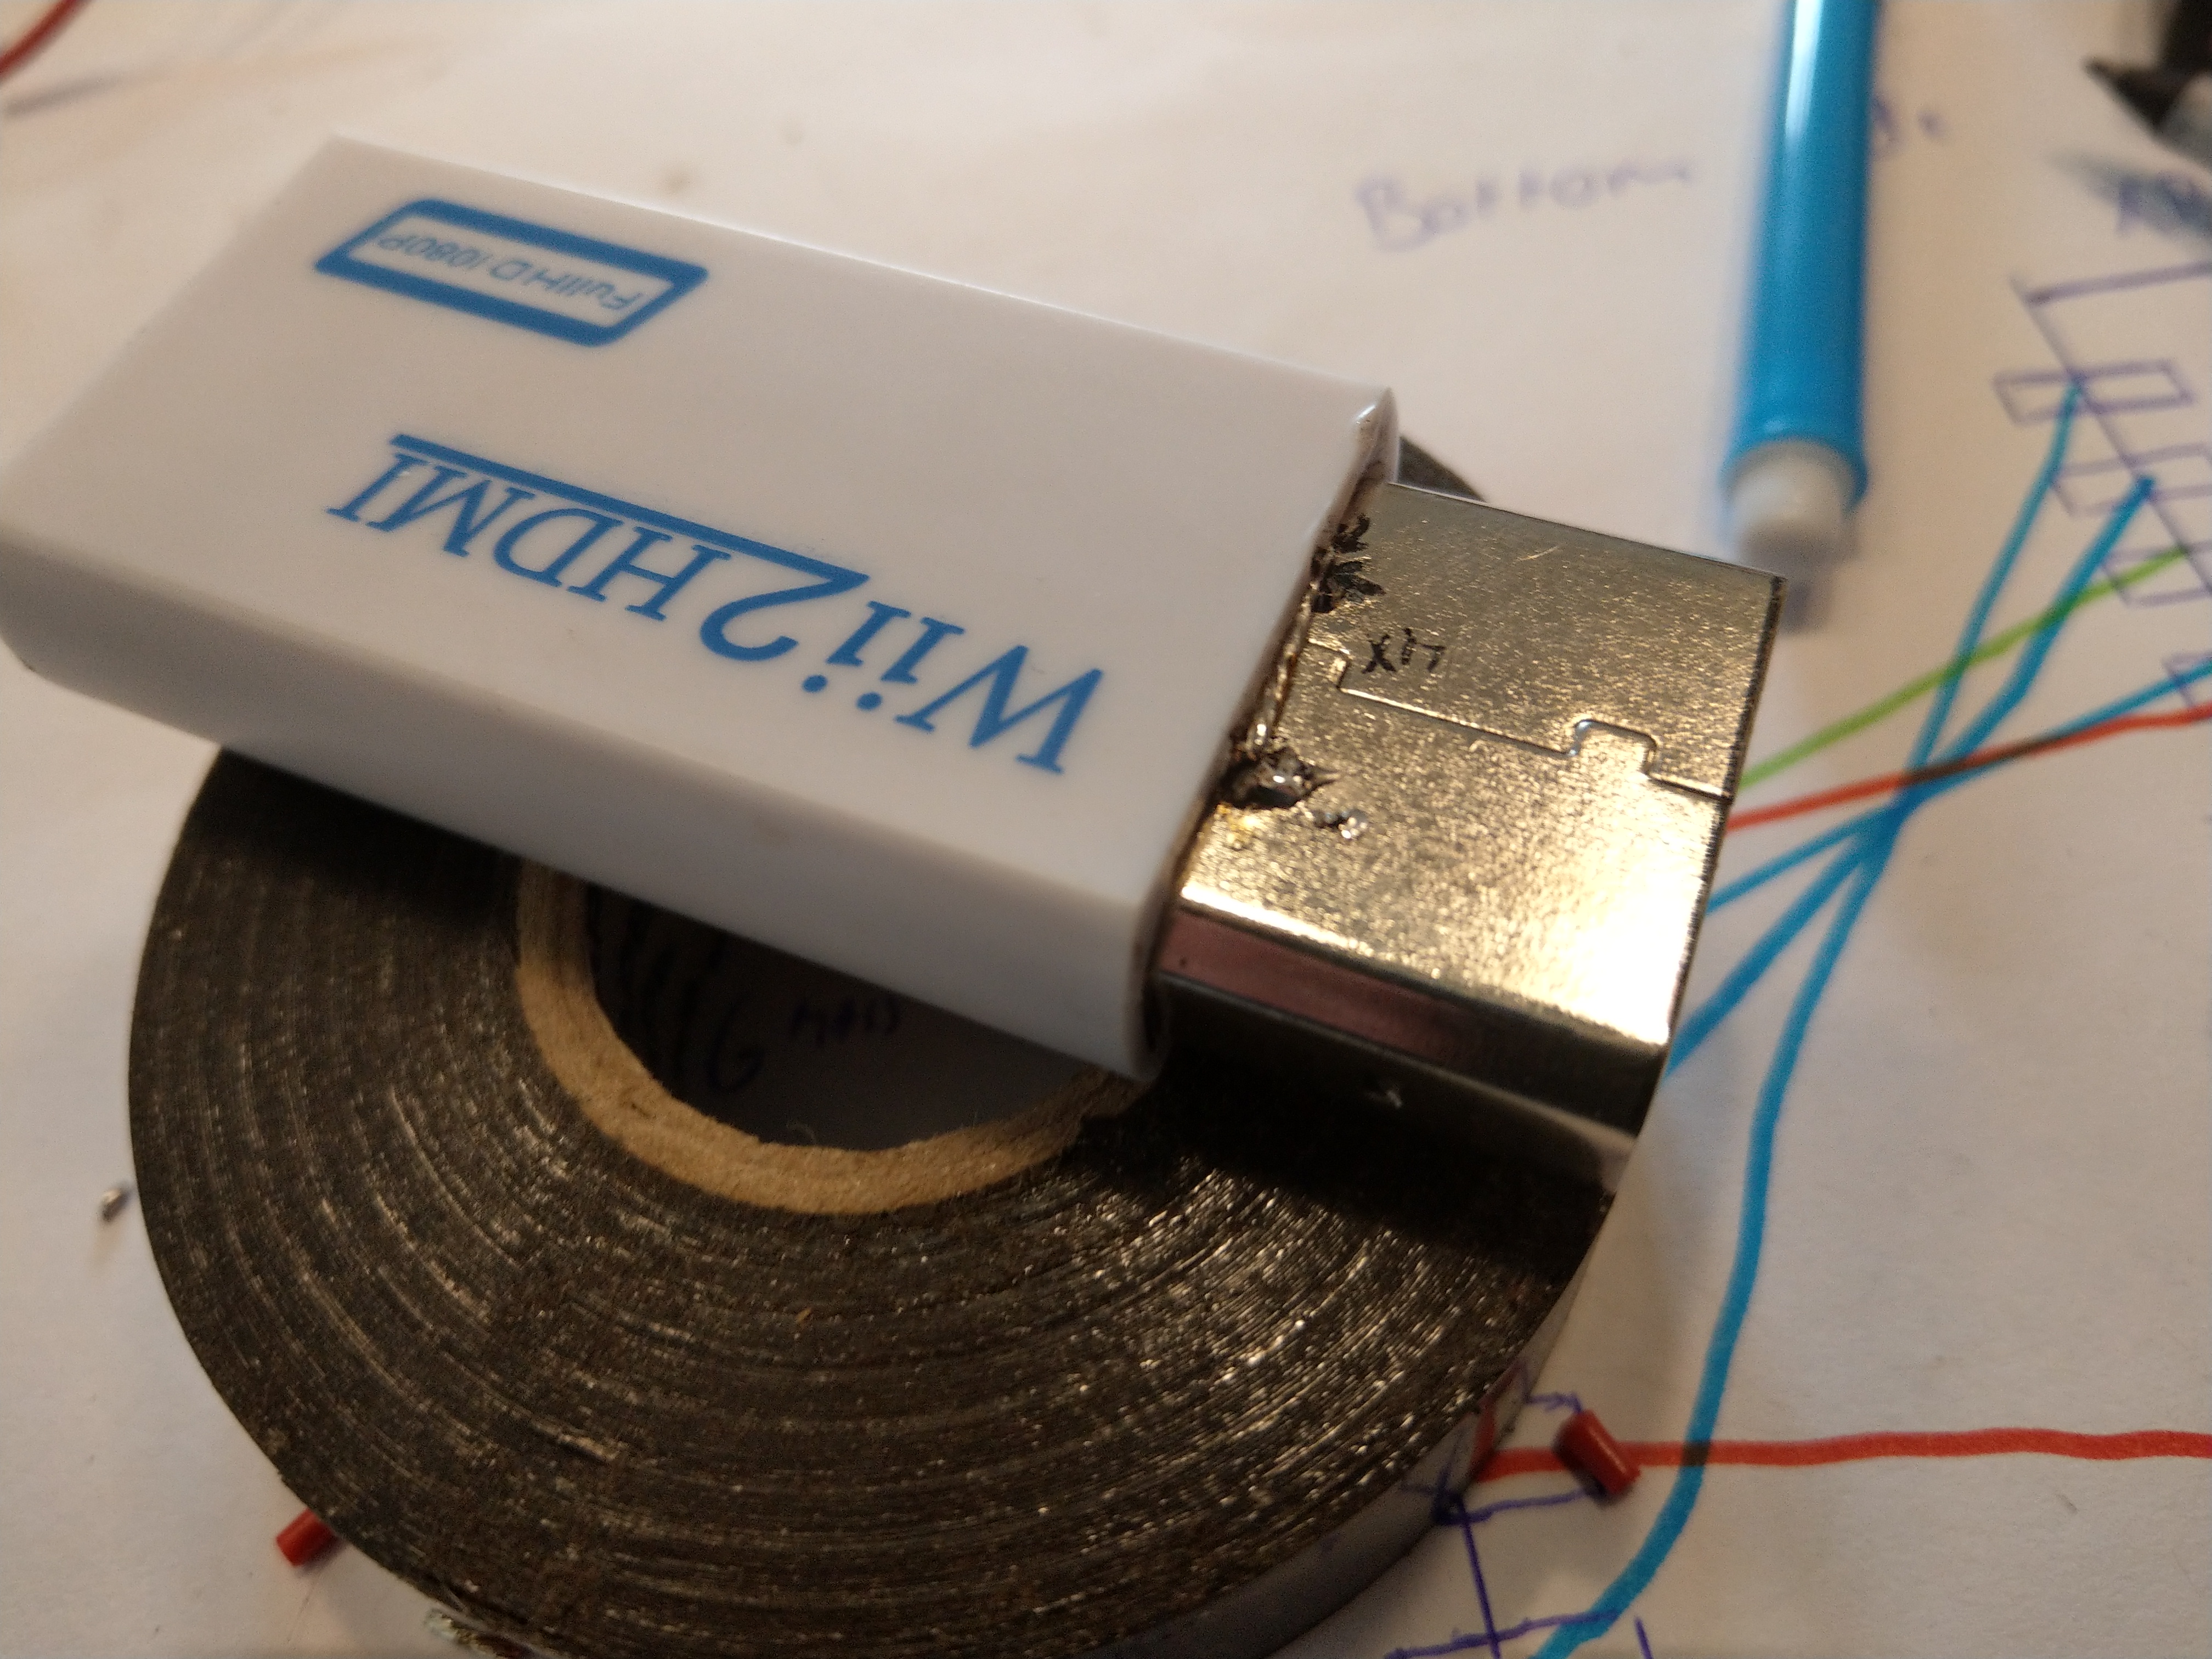
I have made a few plugs from wii2hdmi converters.
These converters are plenty and cheap, they do not upscale, unless you buy more expensive wii2hdmi plugs with a hole on the top.
To follow this tutorial you need a few items:
(aftermarket preferred) av cable
Wii2hdmi converter
Thin wire
A few tools:
Soldering iron, preferred regulated station.
Sharp knife
Cutting tools for metal (angle grinder is fast)
Electrical wire stripper/cutter
A pocket knife or small screwdriver.
I used a chinese av cable, the long and short soldering connections are opposite to original!
Just follow the pictures and you will be on hdmi in no-time.
Reminder, the wii2hdmi boards are very sensitive to static electricity, i have busted a few.
Cut of the connector.
Cut in the sides to release easily.
remove plug and open up.
cut the metal on the black line.
bend the pins open as far as possible, this will sturdy up the connector.
remove the hot glue, on original cables it is a piece of tape.
desolder the wires.
place the mode selector connections, use the shortes wire you can, unshielded is o.k.


 open up the wii2hdmi and snap off the connector.
  clean all the contacts


make the first connection, it will sturdy fings up, the lid has the exact size you need. with 2 cables installed, you do not need the spacer anymore.
make sure all the cables are as short as possible and don't short out each other!
add a piece of insulation tape at both sides. It is wise to test it at this stage, later on it will be a pain in the a**.

measure and cut the hole for the metal, it should slide in without to much hussle.
cut the top metal piece at the black line.
slide the metal piece in as far as possible. This will hold the internals in place!
solder it at the top and the sides. Your plug will not fall apart if you remove it from the xbox this way.
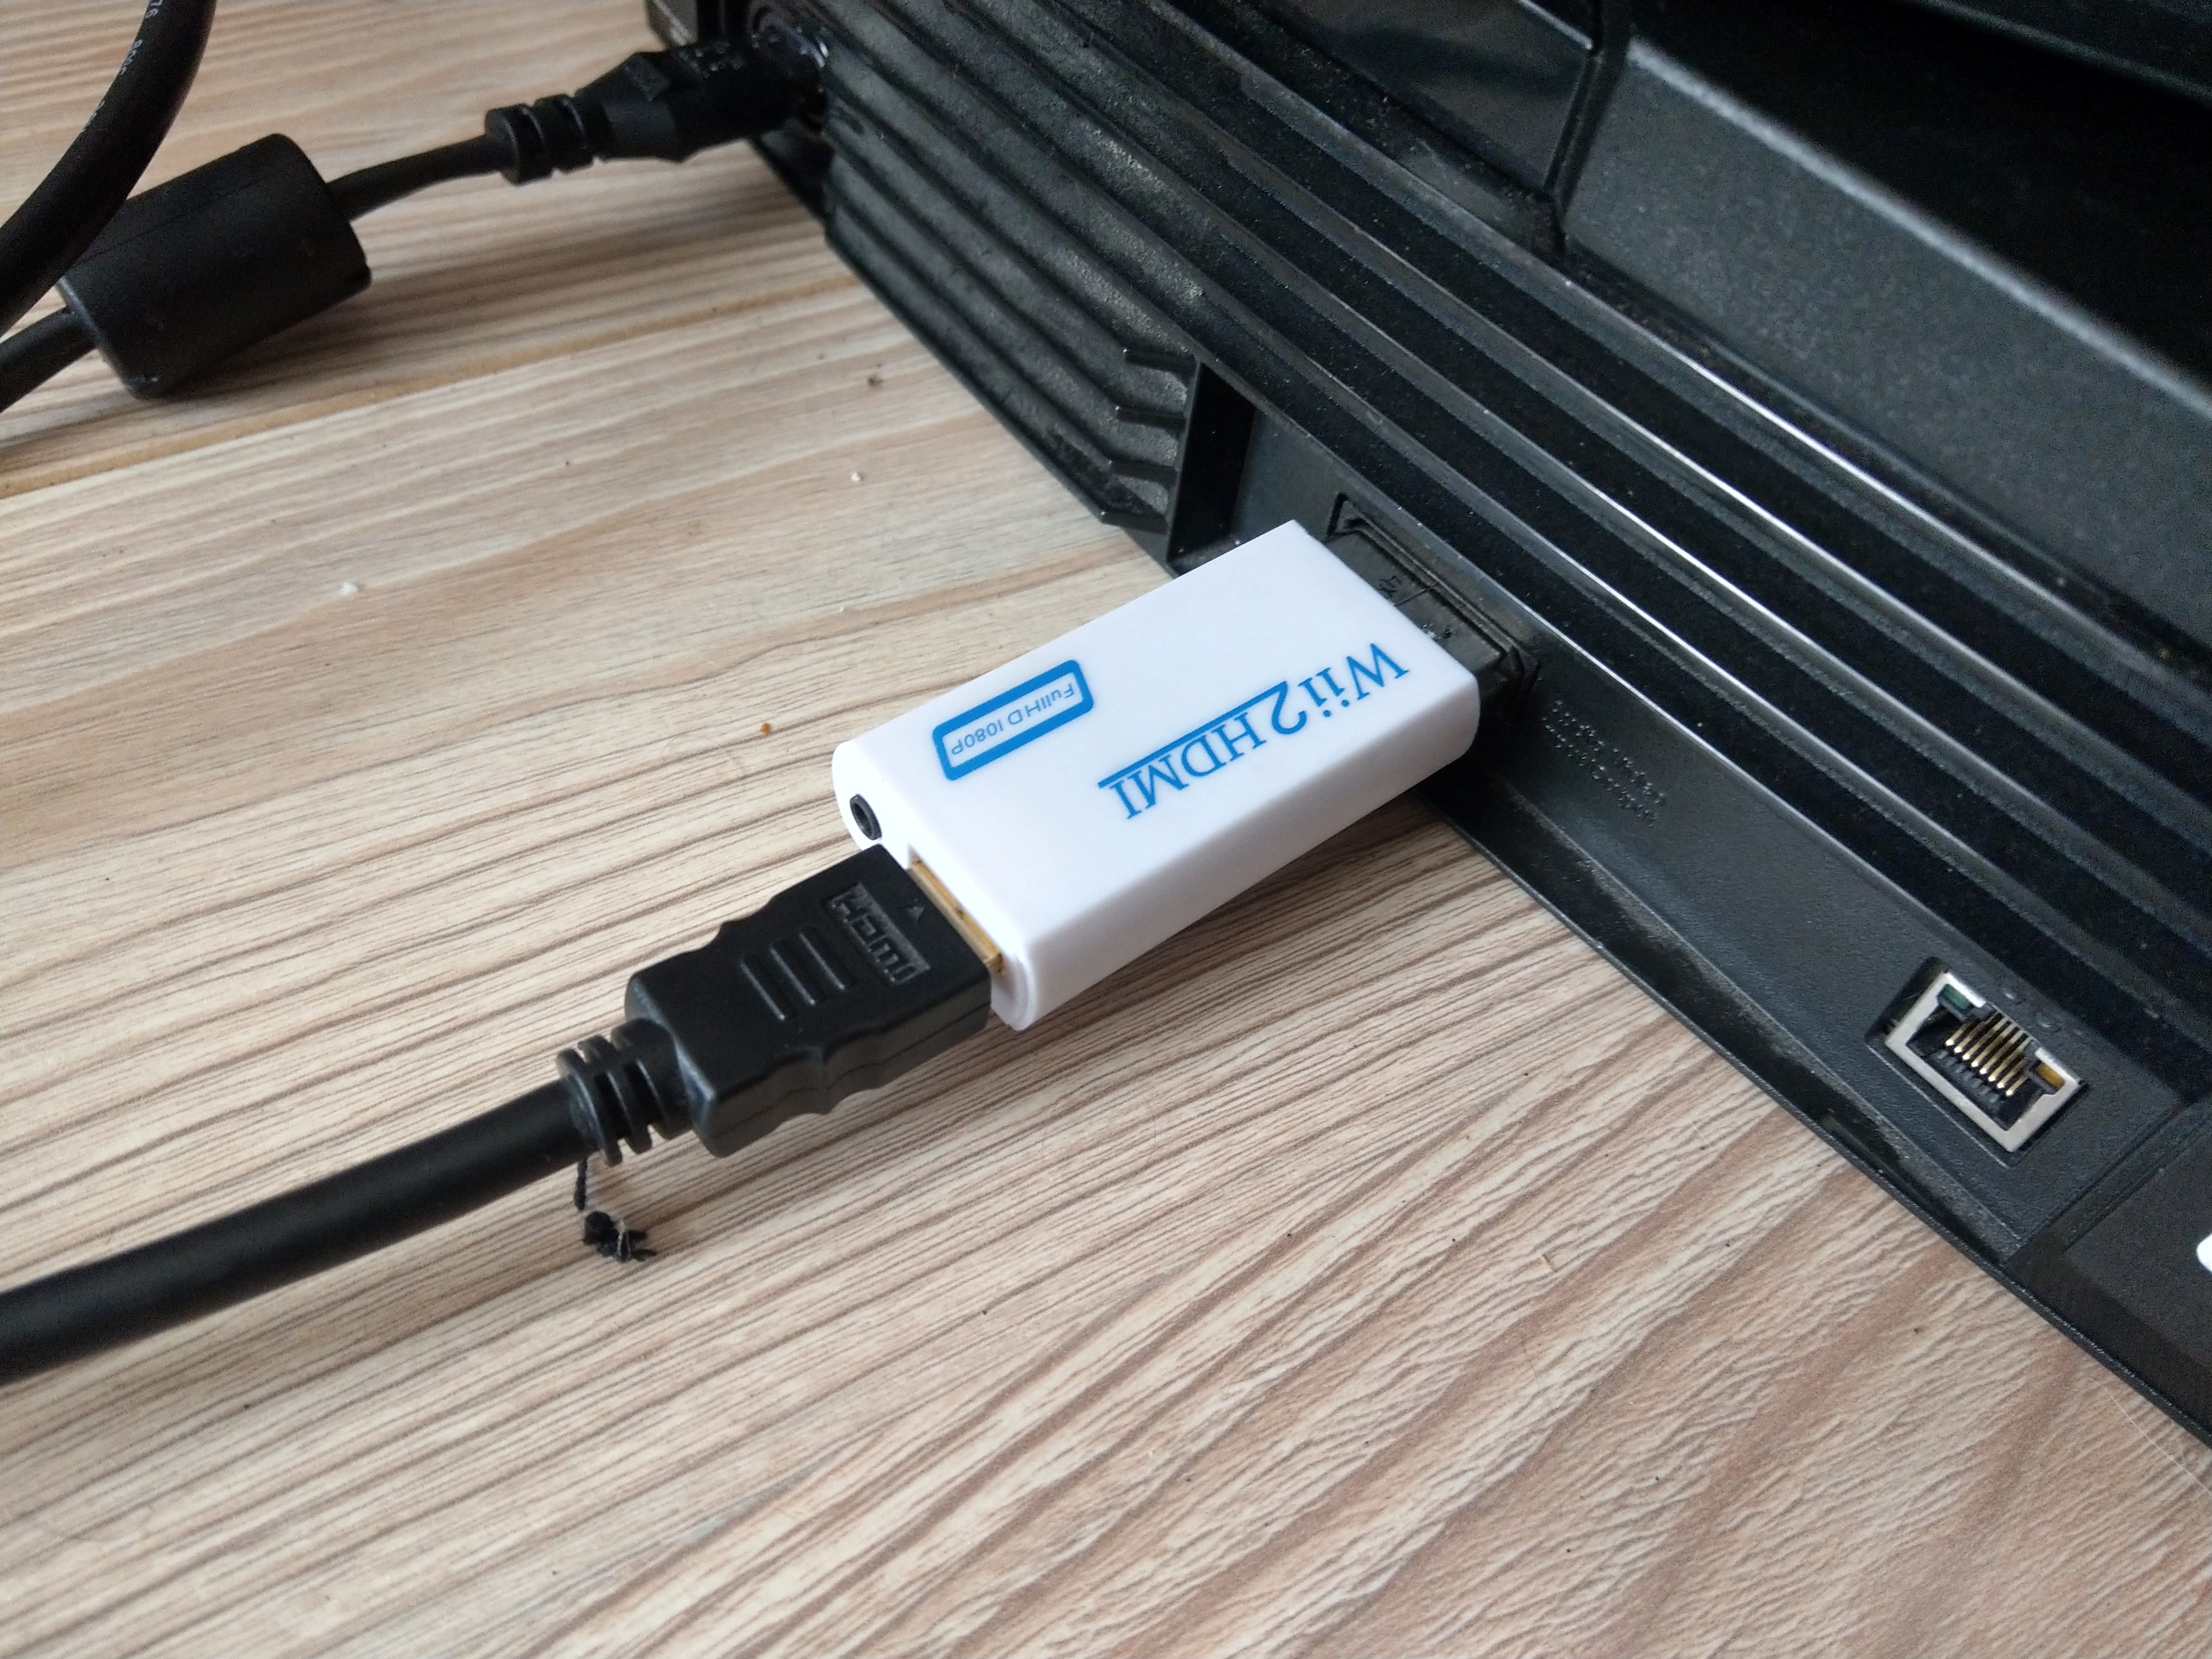
insert the completed converter,
push it through as far as possible and solder a wire to the top and bottom, against the plastic, this will keep the internals in place and removes stress on the converter.
time to test!
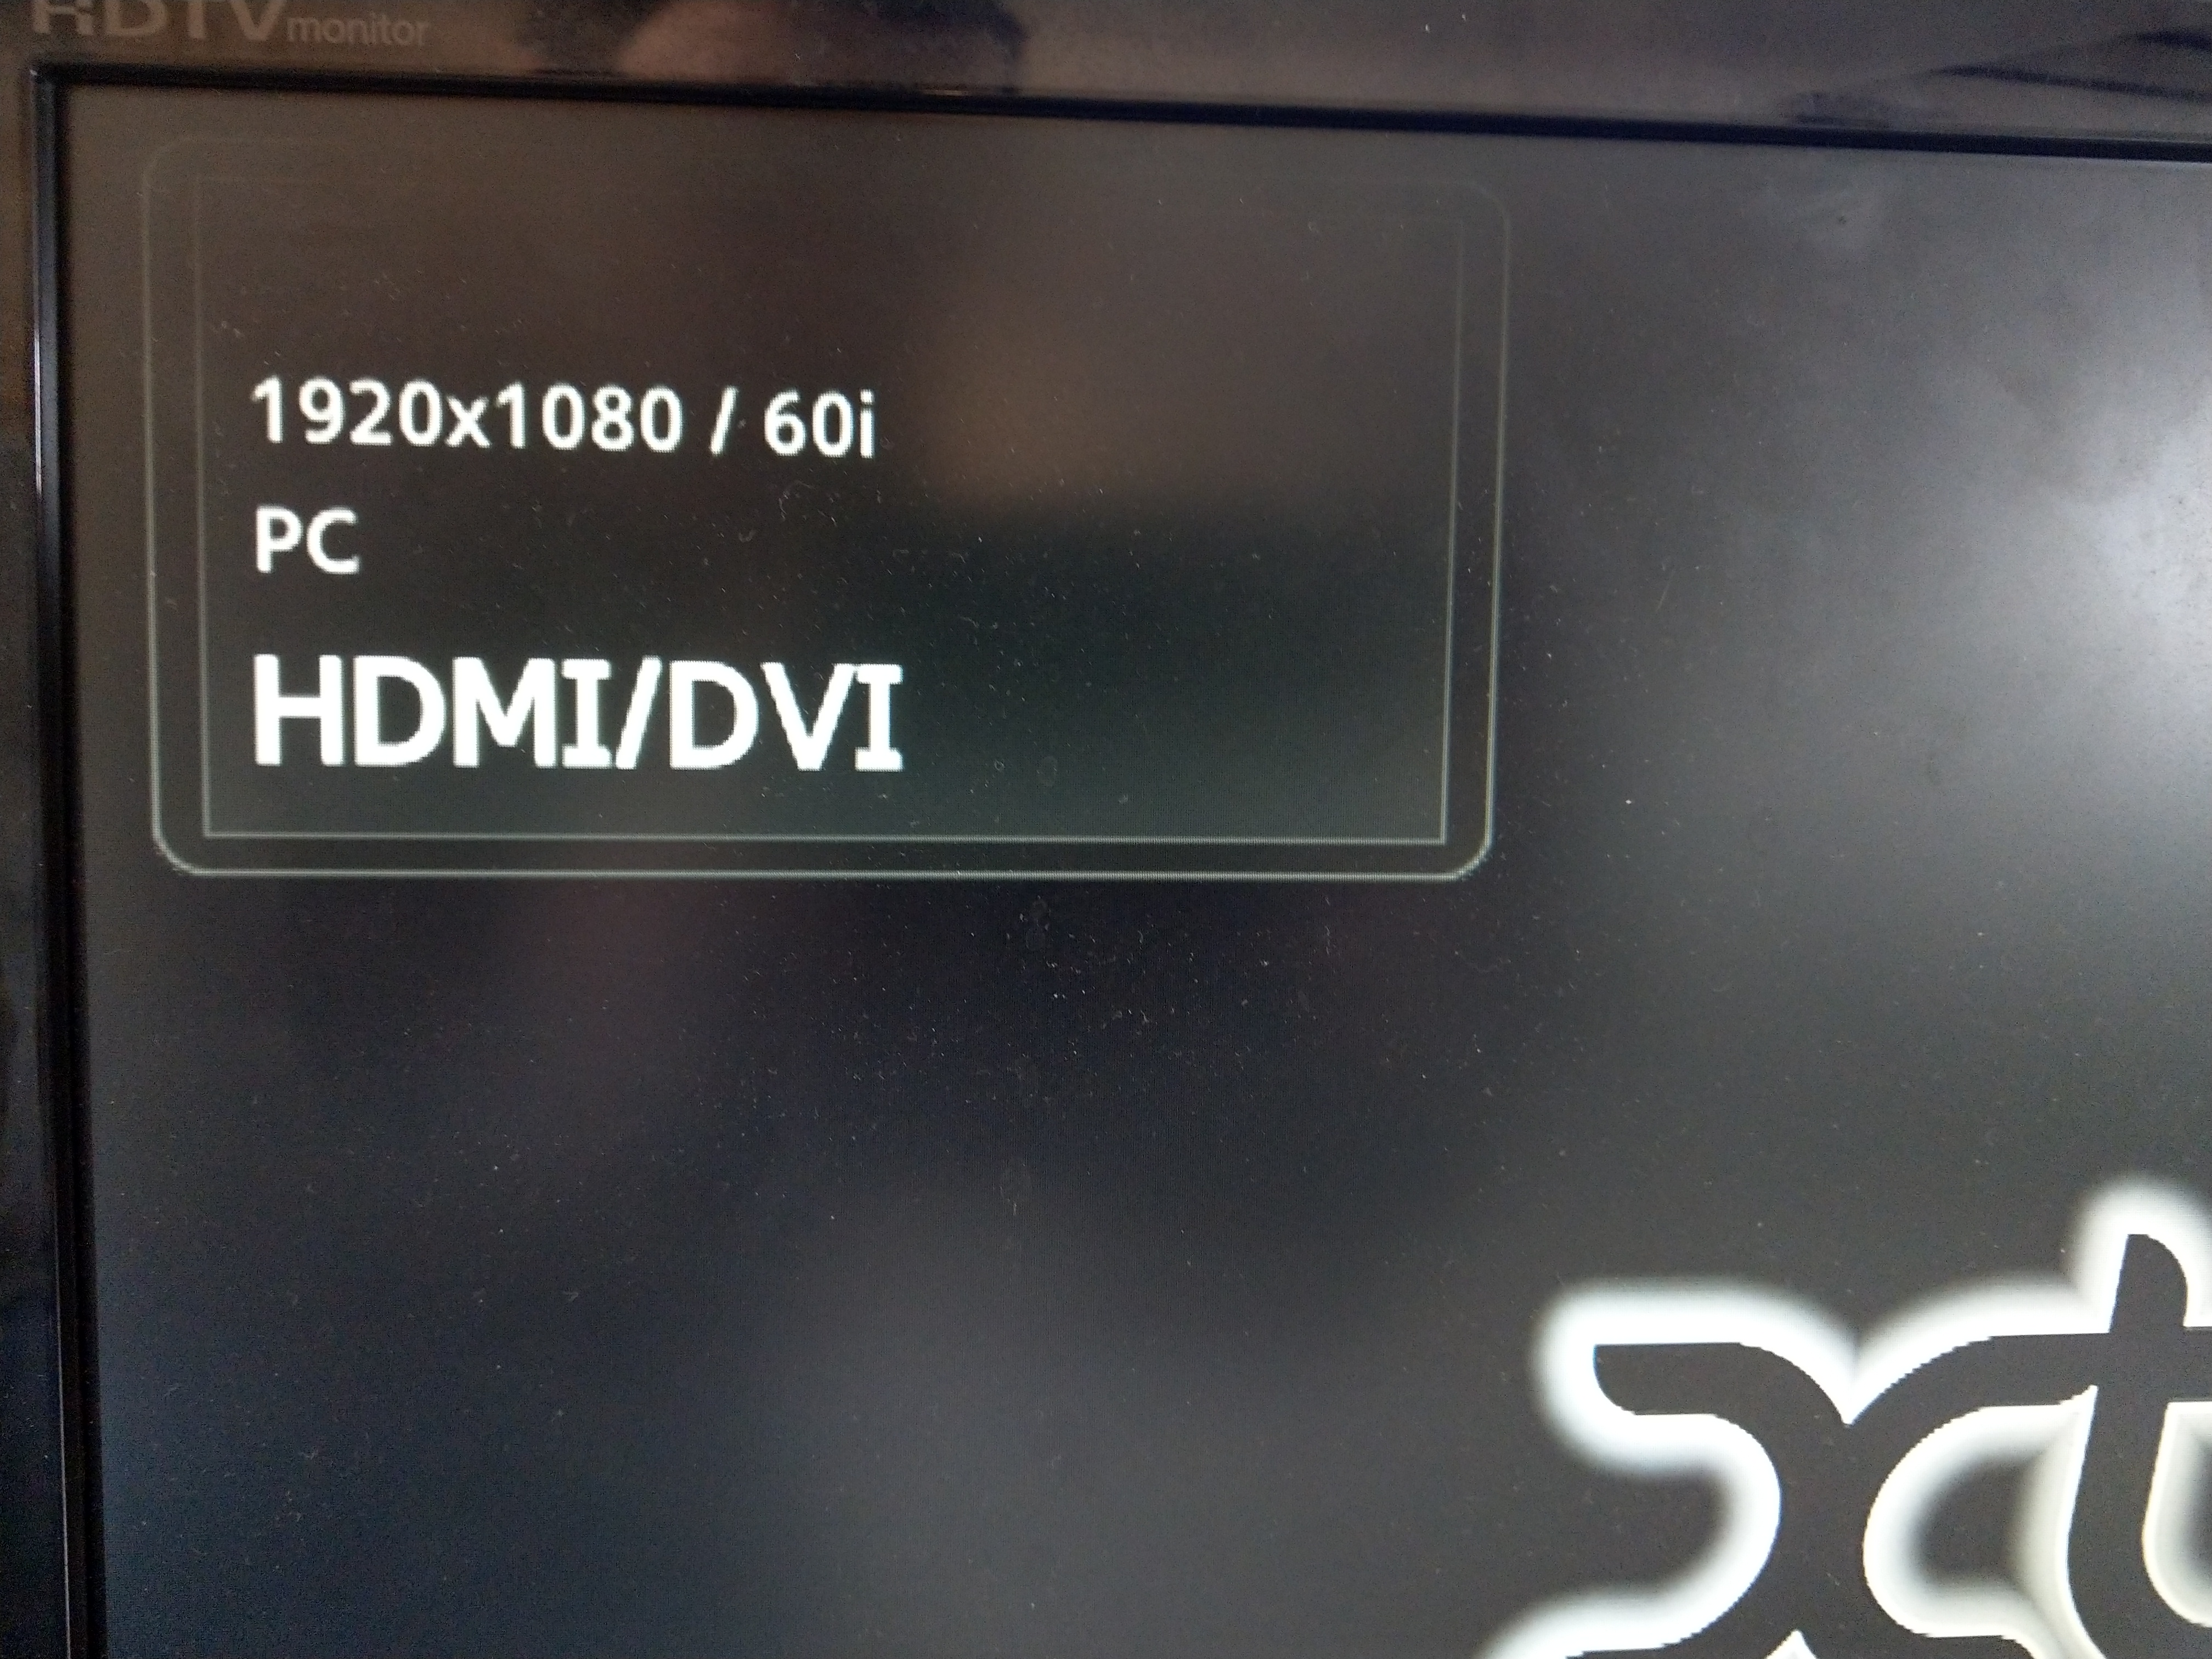
720x480@60i, the boot screen, some tv units have problems displaying this throigh hdmi!
we have reached 1920x1080@60i, maximum resolution of xbmc, although I advice to use 720.
If you miss the options for higher resolution, make sure the system is set to NTSC, in pal it is unavailable. Use enigma video switcher.
I will start to sell these adapters in a short while for €45,- due to the work it takes.
I have given all the connection types another color and the pin numbers are not the official ones!
Any questions? Be free to ask.