-
Posts
80 -
Joined
-
Last visited
-
Days Won
3
Posts posted by Natetronn
-
-
It's also nice having one of these around (or something similar; ArduinoProm etc.) if you ever pick up a box with a bad hard drive and need to import/export (null) the eeprom, this so you can install a new hdd and get it working again.
-
Looking good! How to you plan on connecting it?
-
Not a big fan of HeXEn either.
Option 3
Building off what sweetdarkdestiny said:
First put the evoxdash.xbe from Rocky5 Xbox Softmodding Tool on the C drive, this to get this whole thing to work properly. Now you're setup with a ton of fallbacks, just in case. While there on the README, take a look at "Show dashboard load order" to see the order it executes the next dashboard when it can't find one; if nothing else, just for future reference. Note: make sure at least one of the dashboards in the load order listed on Xbox Softmodding Tool's readme matches one of your dashes locations.
Then install Dashloader Customizer from 4gamers' URL Downloader and setup some on-boot dashboard button shortcuts to your various dashboards. Make sure the C:\Dashloader directory and the button cfg files within said directory get generated upon save (check this via FTP or File Manager etc; let me know if it doesn't show up.)
With that you'll be able to hold down the custom button shortcut and it will launch what ever dash you set in the Customizer for said button. The customize will pop open a file search modal so you can traveres the directories for your dashboards; in most cases, set the default.xbe for each dash. Also, set a recovery dashboard too, while you're at it.
Then have iND boot the Rocky5 evoxdash.xbe, using its ind-bios.cfg file (possibly the default already, but double check.) Or have Cerb boot it instead using its cerbios.ini file. One or the other.
Then for the other one (that's not booting evoxdash.xbe), create a separate shortcut using the XBE Shortcut Make 2.0 and call it xbmcorigin.xbe or call it xbmc4gamers.xbe or similar, so you know exactly what it's for (depending on which one you didn't set to use evoxdash.xbe, that is, that other one should be named after itself.) Make sure the paths line up.
Placing them both on C is fine, since that's where these dashboard shortcuts normally exist. And since they have different names they won't collide (although in a different locations is fine too, like on E; but C is often home for such things.)
Make note of the partitions if using a different path: https://xboxdevwiki.net/Hard_Drive#Partitions - this for when you're (carefully) editing the bios config files.
With that you'll have the best defaults with fallbacks (rocky5's evoxdash.xbe that will find a bunch of dashes), to launch one or the other, the Dashloader Customizer buttons on boot to choose any of a bunch of dashes you set custom buttons for and finally a custom xbmcorigin.xbe or xbmc4gamers.xbe shortcut for those times when Cerb is in play (or iND, depending one which one ends up using evoxdash.xbe etc.)
While you're at it might as well throw on UnleashX (zip) for better FTP. I like setting this to use the X button and as my recovery dash, but you do you.
-
 1
1
-
-
37 minutes ago, si_kabayan said:
What's new addition to this attach.xbe compared to driveimageutils's version?
I'm not familiar with driveimageutils's version directly (just in general), so I can't comment on that. The new attach has been modernized to work on Cerbios and is backwards compatible with the older bioses that support XISO.
I've asked for a bit more detail in the Discord, but for now these are some past replies we were able to dig up.
Quoteper Rocky5 earlier:
They have basically consolidated all the virtual drive stuff into 1 xbe so it can be used depending on the image next to it.So it’s no longer just the attach.xbe for games. It’s also a virtual drive attach xbe and a virtual memory card attacher (though not sure why memory card.)
Basically 1 xbe to do all tasks.
QuotePer Team Ceribos:
Hi there, our attach uses updated structures for doing, isos, disks and memcards, etc.
Unfortunately these structures are not backwards compatible with existing bioses [now backwards compatible.]
While the previous attach.xbe will work with our bios as we have added support for it directly in the bios itself, unfortunately other bioses won't be able mount using our attach as they won't understand these structures [now backwards compatible.]
-
@coldasijsthanks for the suggestion. Mostly just trying to get it out there and I don't have full access here yet lol (to post images and such.) Maybe we can do a more "proper launch" later.
Yes, that's correct. Currently it makes a mostly 1:1 clone from pure dumped ISO, minus the video partition, which is removed during processing. It then splits into two so it can be used on the console. It's also creating the default.xbe (the new Attach courtesy of Team Cerbios) and updates its title in the process, depending on what you set in the app (normal or alt title), this so it reads nice in-dash and meets the char limit etc. Also pulls the image. And yes, it's setup to work on those bioses that can run xiso directly, like you said; this is better than hdd ready, many of which require patching and could potentially be tampered with.
On that note, it also runs a few checks to verify the validity of the original dump, that it is in fact original (based on Title ID, CRC-32 checksum etc.) You can cross reference this by running the checksum on your own dumps (7zip has checksum feature in its context menu on Win) and or verify on the redump database (look for CRC-32.)
More features are being added and we're continuing to test, both the app and compatibility (playablity.) Yesterday we added Linux and OSX support in V1.0.1, for example (Mac OSX Sierra+ testers needed.)
In its current state, ti was opted for 1:1, this for the most compatibility vs size. Maybe in the future a "shrink" feature can be added as well, similar to how extract-xiso works, for example, where uneeded padding is removed and the result is a smaller file size that doesn't need to be split (in most cases, but not all.) Should such a feature be added, we'd have to start the compatibility testing over for that, this to determine which will run shrunk without crashes and errors etc. and which will only run at full size. A very select few may have to be patched (like TOCA, e.g.) but the majority will now work untouched, shrunk or otherwise.
Note: at least in theory, one can recombine the two iso, using cat command, for example, then use extract-xiso or similar to remove the padding / shrink (for game over ~4.3-ish, one still might have to split again, using split or fsplit etc.)
Everyone is welcome to contribute, help with testing and submit bug and feature requests. A compatibility site is in the works, but currently we're using a google doc for that.
https://docs.google.com/spreadsheets/d/1EzMsO5IQA43mXSP-pL0BNsxxMsVG1fWvkROUWaNkHO4/edit#gid=0
-
 2
2
-
-
Repackinator V1.0.1 released, now with Linux & Mac Support and standalone CLI version
This release brings Repackinator to Linux and Mac and adds a standalone CLI version. Downloads found here:
https://github.com/Team-Resurgent/Repackinator/releases
Looking for testers, particularly for the Mac version. Please report any bugs on Github Issues.
A CLI only version has been added (currently named Repackinator; vs RepackinatorUI for the GUI version)
Note: in the future, we'd like get more descriptive with their naming, so it's more clear which one is which e.g. Repackinator-CLI and Repackinator-UI etc. but, we wanted to get this out there for the UNIX-y types, sooner than later.
-
Hi Everyone,
Repackinator v1.0 is now available. Its source & executable can found on our github https://github.com/Team-Resurgent/Repackinator. We are also excited to collaborate with the community to bring additional features & enhancements to Repackinator. Please feel free to commit to our Github Repo. A Patreon has also been set up for those who wish to say thanks or donate. https://www.patreon.com/teamresurgent. Keep an eye out on for further Team Resurgent releases coming soon. Support & Discussions can be found on the Xbox-Scene Discord https://discord.gg/VcdSfajQGK in the General room Under Team Resurgent.
Thanks!
-
 1
1
-
-
Nice job! I knew you could do it

-
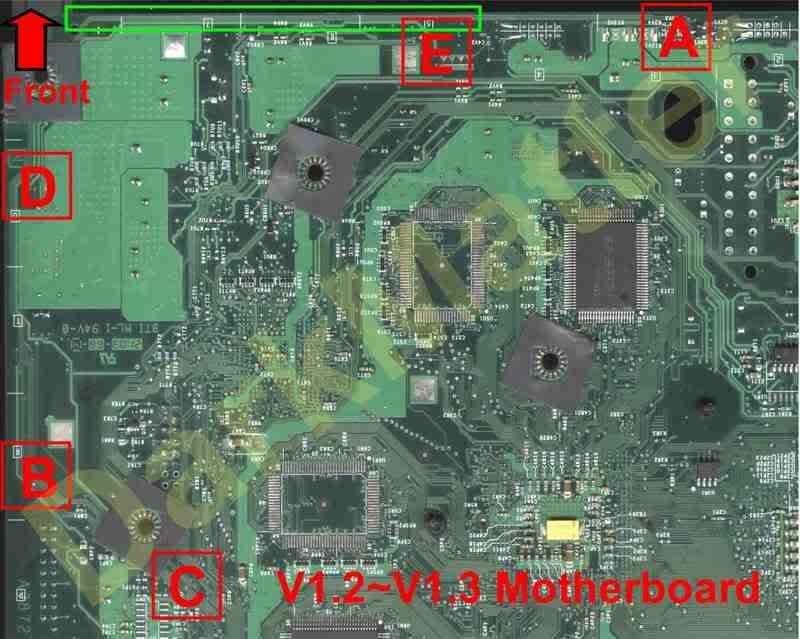
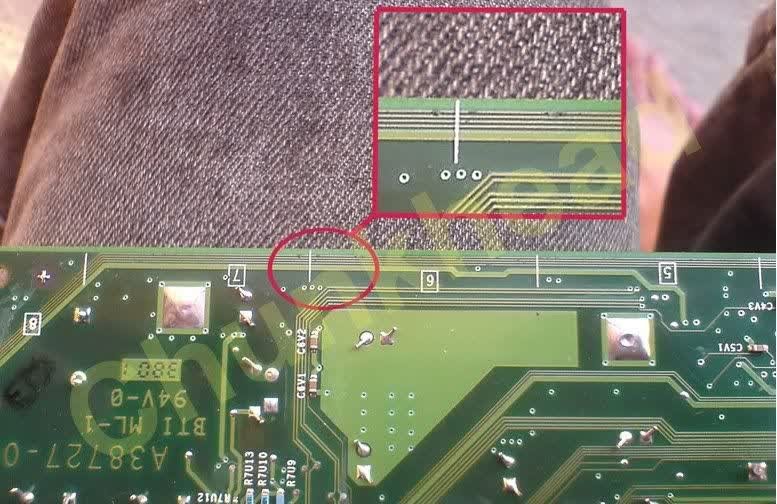
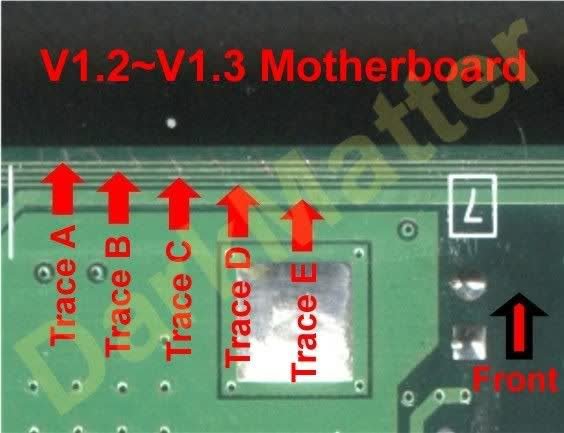
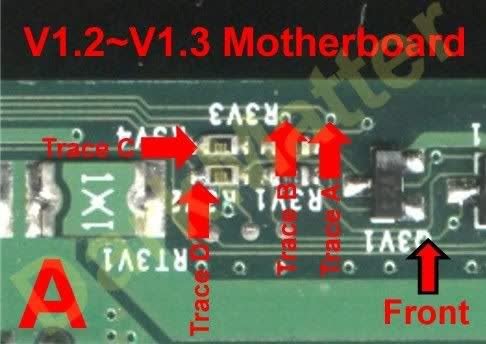
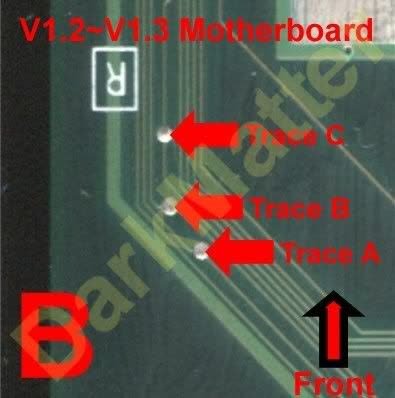
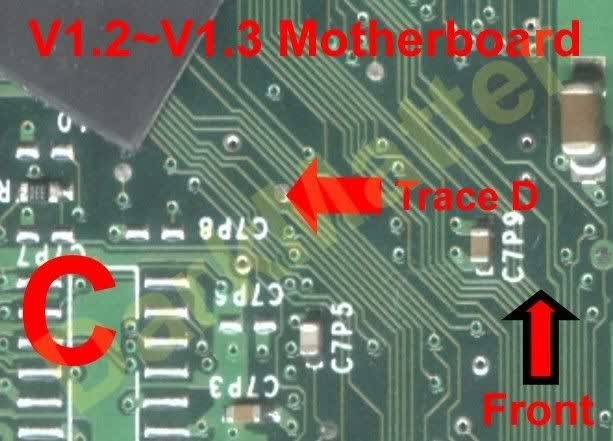
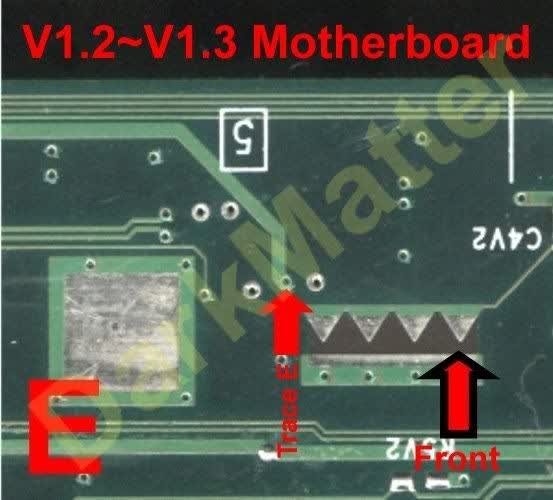
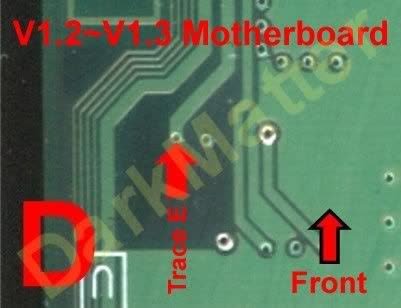
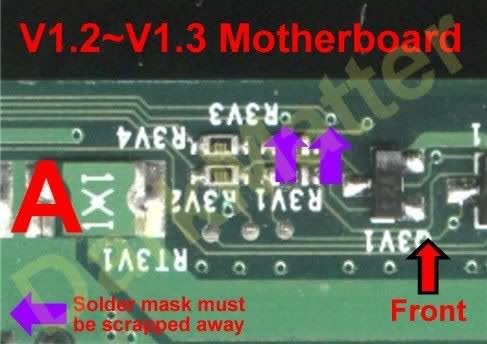
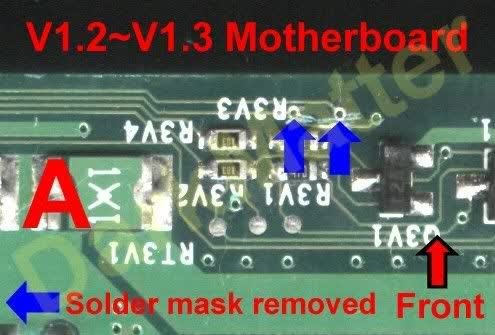
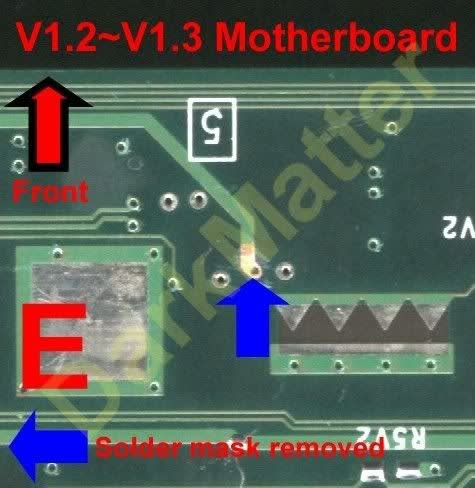
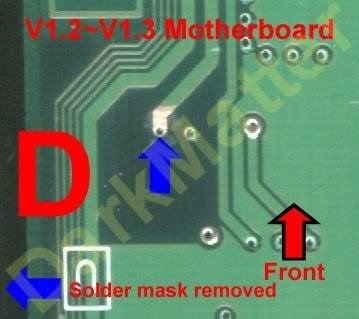
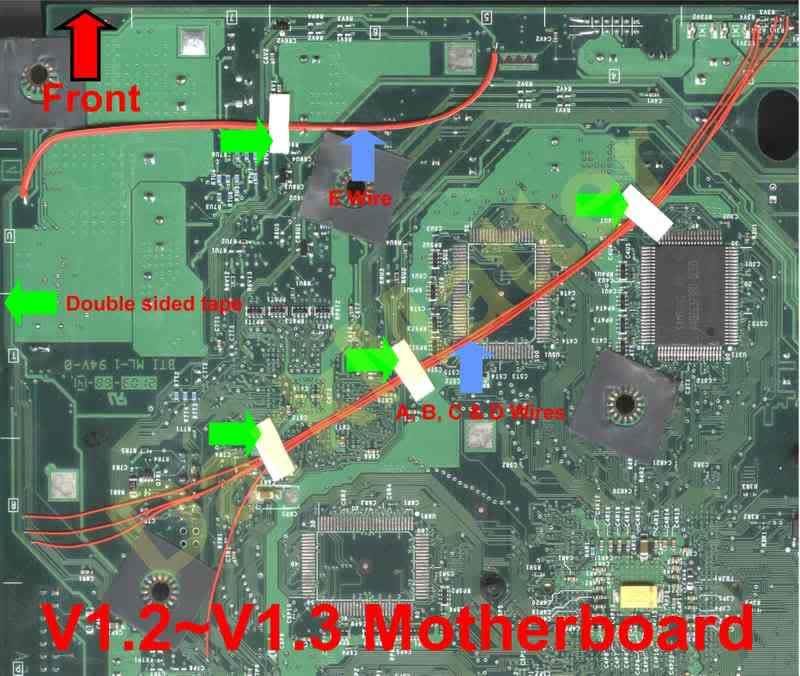
I'm kind of thinking it would bypass it as well but, not totally sure, as the 1.1 pictures doesn't seem to show the end point of trace C, unless I'm missing it? Aside, these pictures and numbering are horrible; we should redo them.
Perhaps post up some pictures so we can better see what we're dealing with? - I'm away from any boards - Or maybe give it a try and see what happens, assuming the end point make sense?
-
-
-
And a imgur, just in case:
-
 2
2
-
-
-
Does the -A not designate the default bios? I'll have to double check that to be the case (i.e. install the chip and test.)
Note: I realize that's not the best "flag" but, it's what I assumed when I was playing around in the OS the other day (v2.3.1.)
Board Life Status
Board startup date: April 23, 2017 12:45:48



Insignia XBL replacement sign-up opened
in General Xbox Discussion
Posted · Edited by Natetronn
1. They are using the Insignia Setup Assistant to register (see releases.) You can do the same. At time of writing, there are 5733 invite requests, 700 registered, but only 29 gamertags, so that's probably the devs and their beta testers. We'll start getting ours (maybe) starting in a month or so:
2. I'll try to test this tomorrow.
3. The initial setup is with the Setup Assistant. Then you setup the dashboards thereafter. It talks about the DNS setup on the connect page: https://insignia.live/connect and how to set XBMC as well (see quote below.)
I don't know the answers to the rest of #3 questions. You might try asking in the discord: https://discord.gg/CWkdVdc